

In this Virtual box tutorial, you will learn how to create a virtual machine in Virtual box software. Also we will look at the important Virtual box concepts.
What is Virtual Box?
Virtual Box is a Virtualization software that falls under Type 2 hypervisor category. It helps you to create guest operating systems (virtual machines) on a host operating system (desktop/Laptop).

If you are starting your Cloud or DevOps journey, Virtual box is a great software to practically learn virtualisation concept. You can create Linux and Windows based virtual machines on your workstation. The number of virtual machines that you can create is based on the underlying CPU and memory resources of your workstation.
Virtual Box Installation
Step 1: Go to VirtualBox Downloads page and download the application based on your Operating System. It is available for MAC, Windows and Linux System.
Step 2: Install the Virtual box application from the downloaded binary.
Download ISO Image
To create a virtual machine, you need to have an ISO image.
For this example, we will use the ubuntu server image which is freely available on the official ubuntu website.
Note: You can use any ISO image. Centos, Ubuntu Desktop, Windows etc. You can find all Virtual Machine images and its download links in the Images Page.
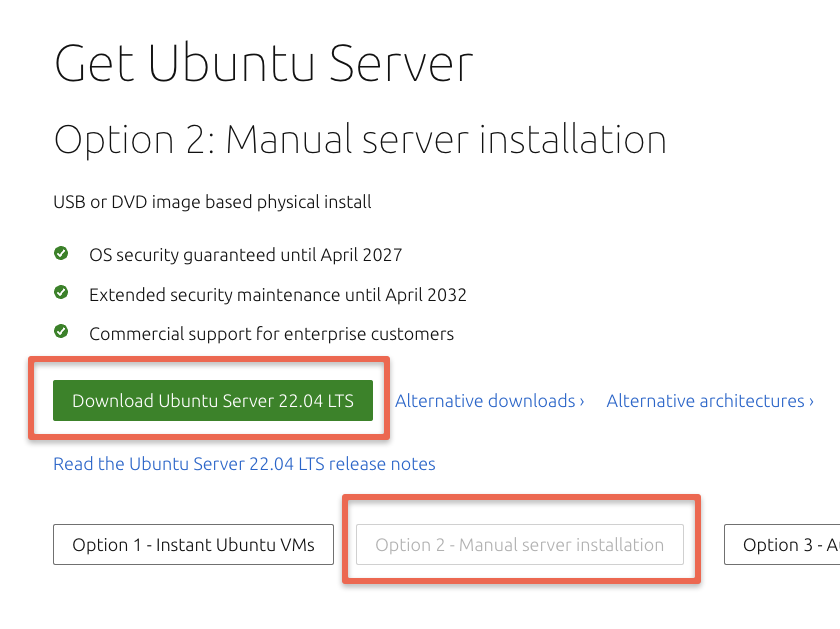
Go to Ubuntu Server Downloads. Choose the manual server installation and download the latest server image.
Creating Virtual Machines in Virtual Box
Follow the steps given below to create a virtual machine using Virtual Box.
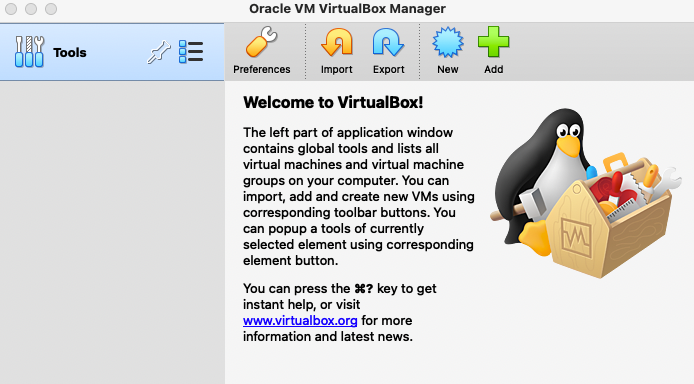
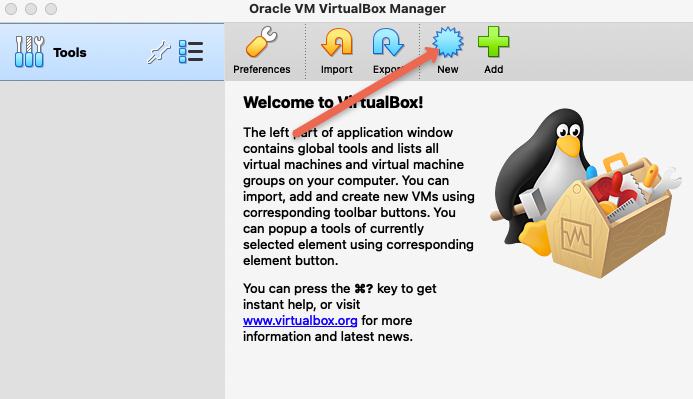
Step 1: Click the new button.
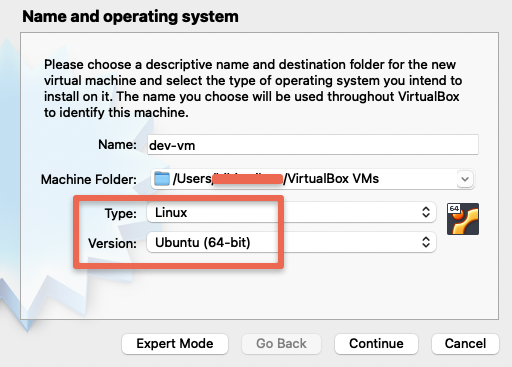
Step 2: Type in a name and choose options as shown below.
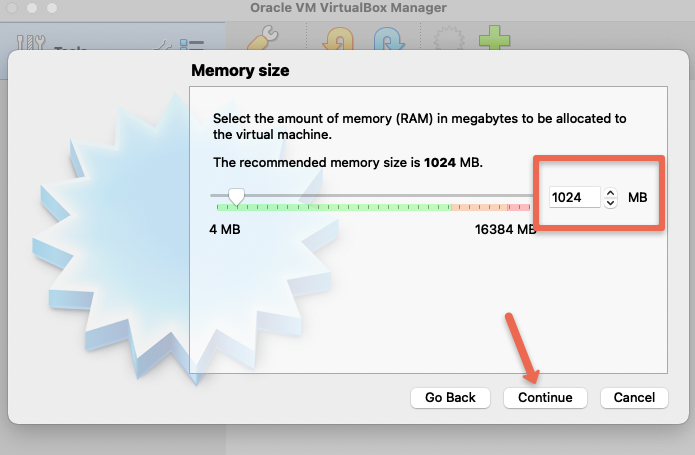
Step 3: Add the memory as per your requirement. Make sure you leave enough room of the host operating system.
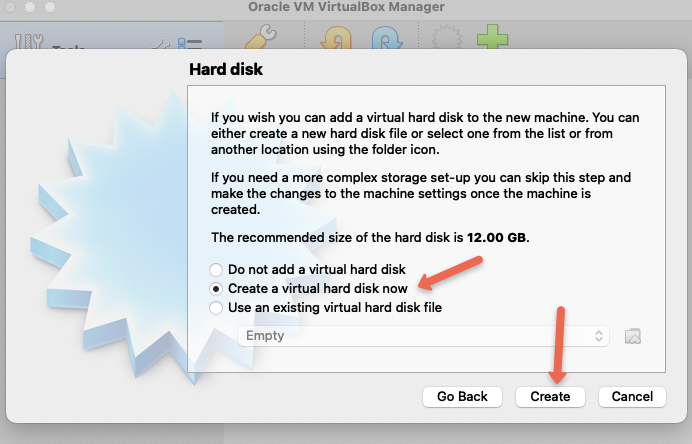
Step 4: Choose the option to create a virtual hard disk as shown below.
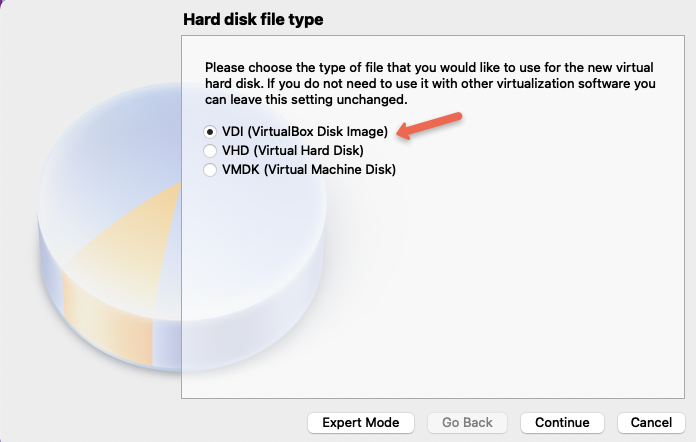
Step 5: Choose VDI option.
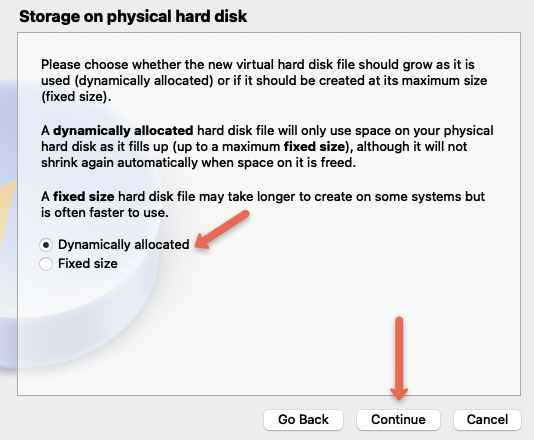
Step 6: Choose "Dynamically allocated" option.
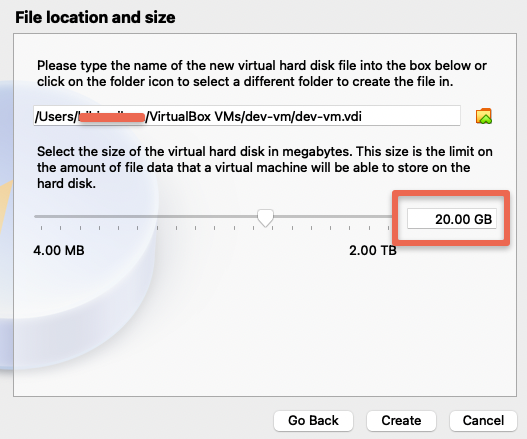
Step 7: Add a disk storage size and click create.
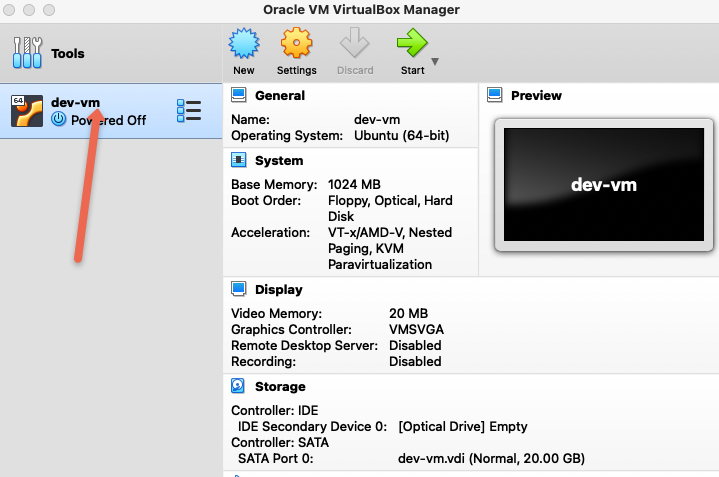
You should see the VM in the powered off state.
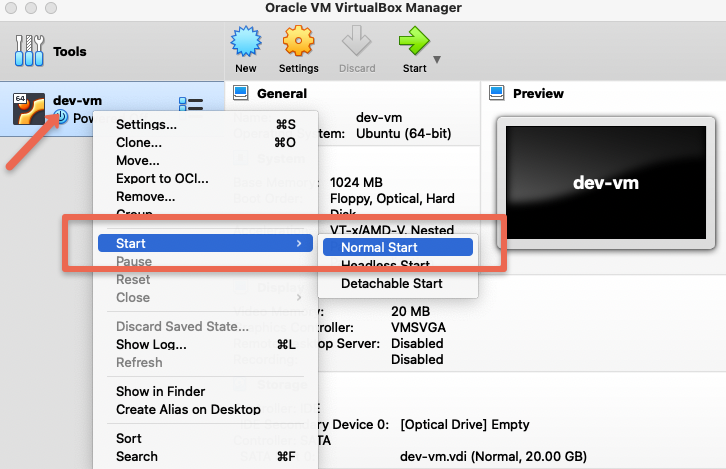
Step 8: Right click on the VM, go to start and then click Normal start. It will open a pop-up to add the ISO image.
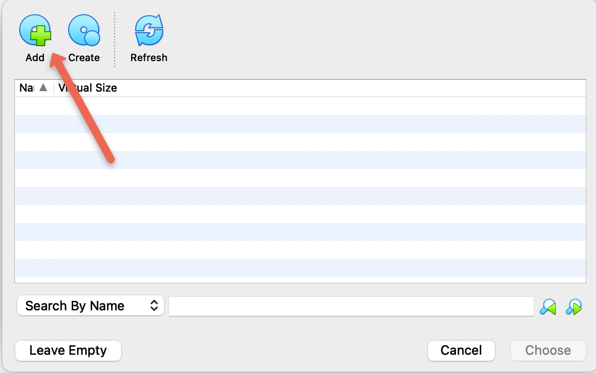
Step 9: Click the folder option in the popup.
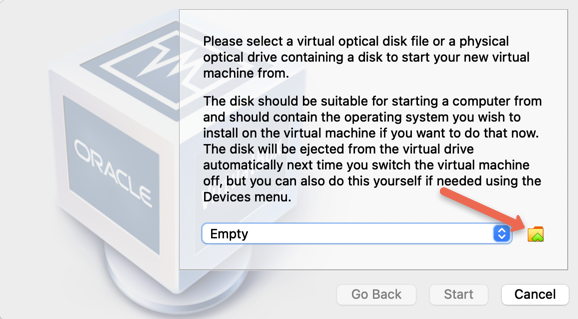
Use the plus button and load the downloaded ISO image from your computer as shown in the below images.
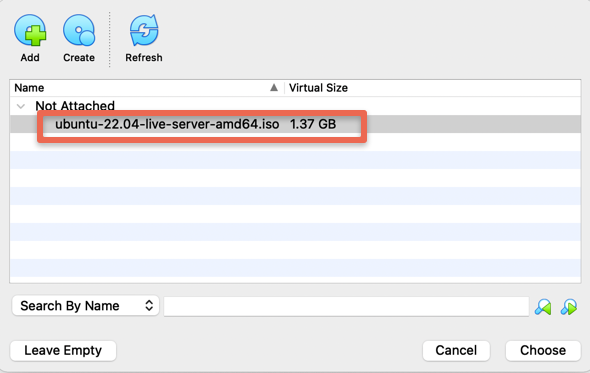
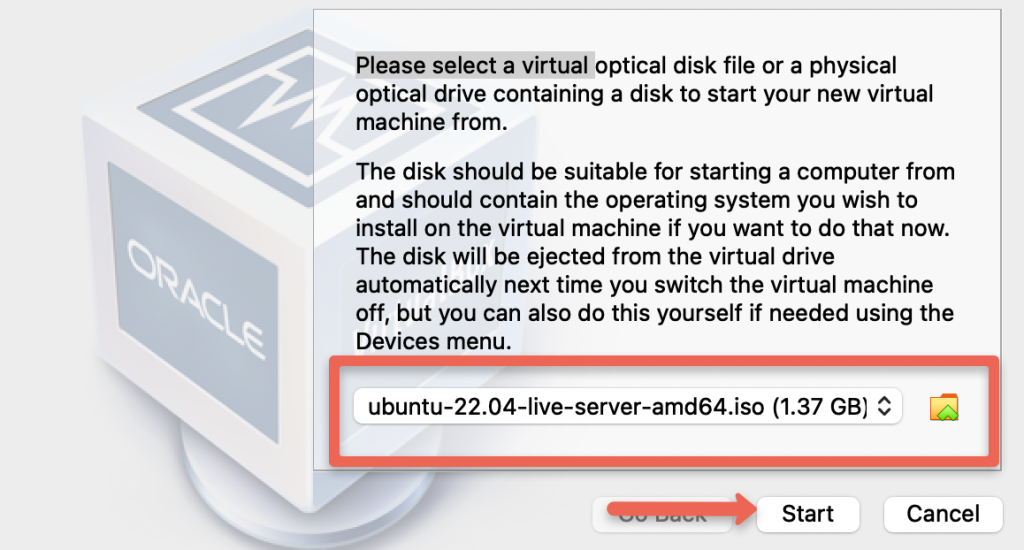
Step 10: Once the ISO image is loaded, click the start option.
Step 11: In the next popup, enter the first option that says "Install Ubuntu Server"
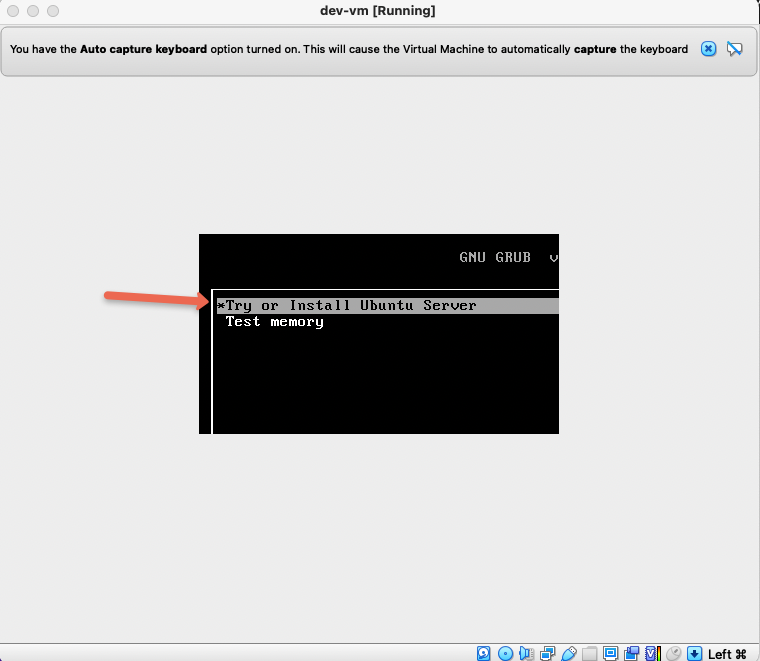
You need to proceed with the normal booting process of the servers. Not all the screenshots are added as these options are self explanatory.
Note: Use the keyword up and down arrows to move and space button to the select option
When you get the following option, select the disk we created in the initial steps.

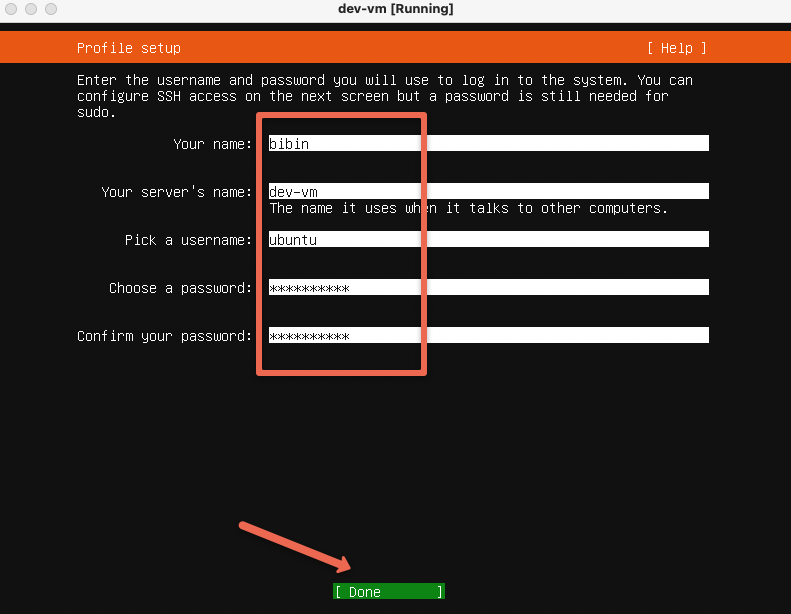
In the profile setup, provide name and password that you remember. You will need the user name and password to login to the server. Select "Done" and press enter.
You can choose to ignore the server update and proceed with logging in to the server.
Start, Stop and Delete Virtual Box VMs
Once you have virtual machines created in Virtual box, you can start, stop and delete it using the Virtual box UI as shown below.

Virtual Box Networking Modes
Virtual box has the following networking modes.
- NAT
- Bridged
- Internal network
- Host-only adapter
- NAT network
- Cloud Network
With each networking modes, you will get a different IP address that is part of the Networking mode.
For example, in bridged network mode, your virtual machine will get an IP address from the Router you are connected to. Meaning, anyone in the router network can access your VM running inside your workstation.
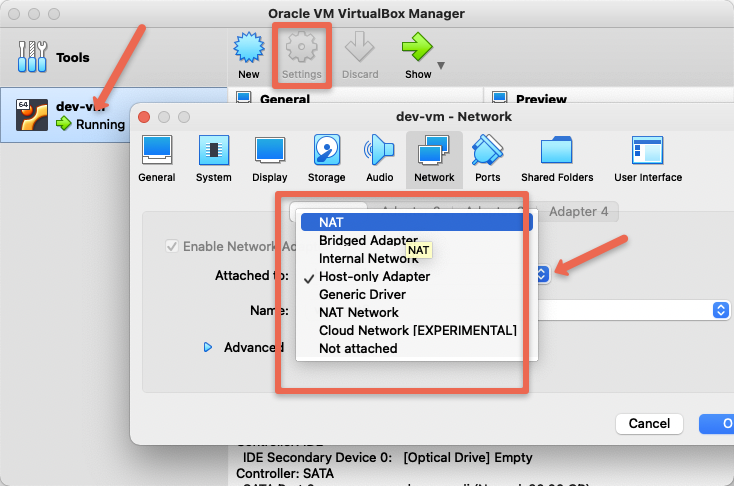
You can change the networking modes from the settings of the Virtual machine as shown below.
Possible Virtual Box Errors
Ubuntu Errors
In Ubuntu systems, while trying to create a virtual machine, you might get the following error.
Kernel driver not installed (rc=-1908)
The VirtualBox Linux kernel driver is either not loaded or not set up correctly. Please reinstall virtualbox-dkms package and load the kernel module by executing

'modprobe vboxdrv'

as root.

If your system has EFI Secure Boot enabled you may also need to sign the kernel modules (vboxdrv, vboxnetflt, vboxnetadp, vboxpci) before you can load them. Please see your Linux system's documentation for more information.

where: suplibOsInit what: 3 VERR_VM_DRIVER_NOT_INSTALLED (-1908) - The support driver is not installed. On linux, open returned ENOENT.
If you get the above error, enter the BIOS settings via reboot.
In that, go to Advanced settings and secure boot. Then disable secure boot.
MAC Errors
In MAC systems, you might get the following networking error.
VBoxManage: error: Details: code NS_ERROR_FAILURE (0x80004005), component MachineWrap, interface IMachine

VBoxManage: error: Failed to create the host-only adapter
To rectify it, go to MAC system preferences --> security and privacy --> Restart to enable system changes by Virtual box.
Conclusion
In this virtual box tutorial, we learning how to create virtual machines on Oracle Virtual Box software.
If you would like to automate the Virtual machine creation on Vagrant for Development and testing purposes, you should checkout Vagrant. In the Vagrant tutorial for beginners, you will find step by step instructions to automate VM provisioning and configurations.
