This post walks you through the steps to install Helm on different platforms and shows you how to verify the installation using Helm charts.
By the end of this guide, you will have learned:
- The prerequisites and permissions required for using Helm
- How to install Helm using different methods
- How to add a chart repository and search for Helm charts
- How to deploy a sample Helm chart to validate your setup
Helm Prerequisites
You should have the following before getting started with the Helm setup.
- A running Kubernetes cluster.
- The Kubernetes cluster API endpoint should be reachable from the machine you are running Helm.
- You should be able to authenticate to the cluster using kubectl, and your user should have cluster-admin permissions
Many Helm charts require elevated permissions to install components like RBAC resources, CustomResourceDefinitions (CRDs), or cluster-wide resources.
Cluster-admin permissions ensure Helm can perform all necessary operations without permission conflicts
Method 1: Install Helm Using Bash Script
I recommend this method if you are setting up a test environment in your local workstation or a server. For project requirements, please follow the binary installation of the specific version that is explained in the next section.
Step 1: Download the latest Helm installation script.
curl -fsSL -o get_helm.sh https://raw.githubusercontent.com/helm/helm/main/scripts/get-helm-4Step 2: Add execute permissions to the downloaded script.
chmod +x get_helm.shStep 3: Execute the installation script. This script will automatically find the right binary for your system.
./get_helm.shStep 4: Validate Helm installation by executing the Helm command.
helm versionMethod 2: Install Helm 4 From Binary
This method is recommended for project requirements where you can have a specific version of Helm installed across all the environments.
For example, if you are using Jenkins for Helm deployments, ensure the Jenkins agent where the Helm command runs has kubectl configured with admin permissions.
Step 1: Head over to the GitHub Helm release page and copy the Linux amd64 link for the required version.

Step 2: Download the binary using wget.
wget -O helm.tar.gz https://get.helm.sh/helm-v4.0.4-linux-amd64.tar.gzStep 3: Untar the downloaded file.
tar -zxvf helm.tar.gzStep 4: Move the helm executable to the bin directory.
sudo mv linux-amd64/helm /usr/local/bin/helmStep 5: Validate by executing the helm command.
helmMethod 3: Install Helm From Package Managers
For Mac,
brew install helmTo install Helm on Ubuntu, use the following commands.
sudo apt-get install curl gpg apt-transport-https --yes

curl -fsSL https://packages.buildkite.com/helm-linux/helm-debian/gpgkey | gpg --dearmor | sudo tee /usr/share/keyrings/helm.gpg > /dev/null

echo "deb [signed-by=/usr/share/keyrings/helm.gpg] https://packages.buildkite.com/helm-linux/helm-debian/any/ any main" | sudo tee /etc/apt/sources.list.d/helm-stable-debian.list

sudo apt-get update

sudo apt-get install helm
For Windows,
# For Scoop

scoop install helm

#For Chocolatey

choco install kubernetes-helm
For other installation methods, check the official documentation.
Add Chart Repository
Now that we have installed Helm, the next step is to add the chart repository.
The Bitnami Helm repo contains many stable Helm charts developed and maintained by the community.
Now, add the chart repo for installing the stable charts.
helm repo add argo https://argoproj.github.io/argo-helmNow, you can search the available chart using the search command.
For example, if you are looking for Argo Helm charts, you can search for the available Argo chart using the following command.
$ helm search repo argo

NAME                        CHART VERSION  APP VERSION    DESCRIPTION
argo/argo                   1.0.0          v2.12.5        A Helm chart...
argo/argo-cd                9.3.4          v3.2.5         A Helm chart...
argo/argo-ci                1.0.0          v1.0.0-alpha2  A Helm chart...
argo/argo-events            2.4.19         v1.9.9         A Helm chart...
argo/argo-lite              0.1.0                         Lighweight...
argo/argo-rollouts          2.40.5         v1.8.3         A Helm chart...
argo/argo-workflows         0.47.0         v3.7.7         A Helm chart...
argo/argocd-applicationset  1.12.1         v0.4.1         A Helm chart...
argo/argocd-apps            2.0.4                         A Helm chart...
argo/argocd-image-updater   1.0.4          v1.0.2         A Helm chart...
argo/argocd-notifications   1.8.1          v1.2.1         A Helm chart...
The charts shown above are the charts available in argo Helm repo.
When it comes to cloud AWS ECR supports Helm charts as OCI artifacts.
Google Artifact Registry support Helm charts
Azure Container Registry also support Helm charts
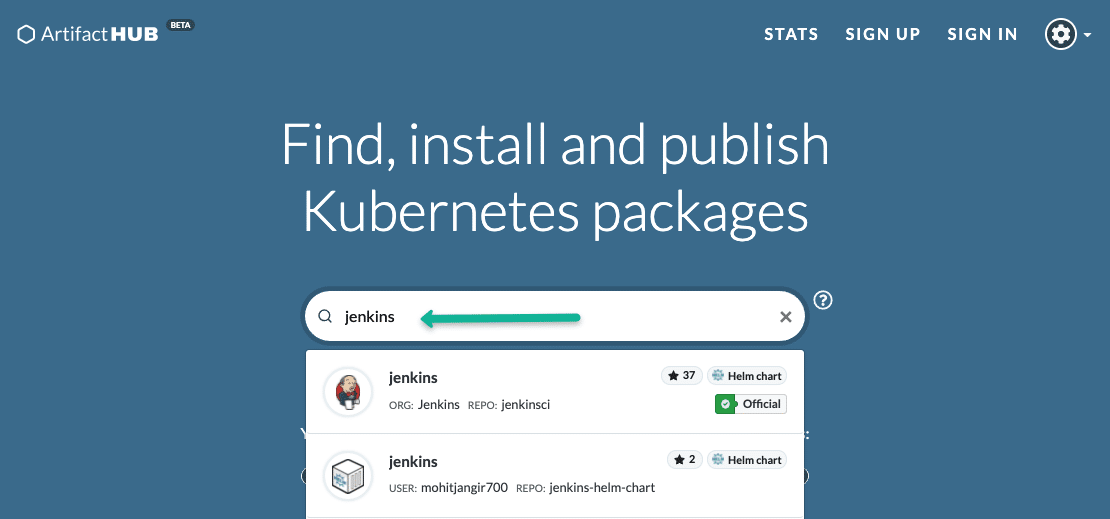
Alternatively, you can search for stable community charts via artifacthub.com where you can find many community-contributed Helm charts.

Install & Validate Helm Chart
To validate the Helm setup, let's set up Argo CD using the Helm chart available.
Step 1: First add the argo Helm repo.
helm repo add argo https://argoproj.github.io/argo-helmStep 2: Update the chart repo.
helm repo updateStep 3: Let's install the Argo CD chart and test the setup. The Argo CD pods will be deployed in the default namespace.
helm install argocd argo/argo-cd Here argocd is the custom release name. You can give the name of your preference.
Step 4: Now, check the status of the Argo CD Helm deployment using the following command. It should show the status of the deployment.
helm lsAlternatively, you can use the kubectl command to check the Argo CD pods deployed in the default namespace.
kubectl get poStep 4: Now, to remove the deployment after validation, all you have to do is uninstall the deployment using its release name.
helm uninstall argocdUpgrade Helm Executable
If you are using an older version of Helm and want to upgrade it to the latest version, you can use the following steps, depending on your OS type.
For MAC,
brew update
brew upgrade helm
For Linux,
The following script will fetch the latest version and upgrade it.
curl https://raw.githubusercontent.com/helm/helm/main/scripts/get-helm-4 | bashFor Windows,
choco upgrade kubernetes-helmAfter the upgrade, check the version using the following command.
helm versionConclusion
In this post, we have seen how to install Helm, install the chart repo, and validate the installation using a sample Helm deployment.
When you use Helm for project use cases, it is recommended that you create your own Helm charts with approved container images from the security team.
If you use community Helm charts in project environments, ensure you replace the community Docker images with custom-built images.
Next, look at the comprehensive beginner's guide on how to create a Helm chart. It covers the helm chart development and its best practices using step-by-step guides.

