

In this blog, you will learn how to set up kubectl aliases using Kubectl user preferences (kuberc) configuration file..
Before Kubernetes v1.33, we had to manually add kubectl aliases in .bashrc or .zshrc, mixing them with other shell configurations.
This was not a native solution. Starting with Kubernetes v1.33, we can now use a dedicated YAML file called kuberc to define aliases. Kubectl directly reads these aliases from the file, making configuration much cleaner
By the end of this blog, you will have learned
- Setup the Kuberc on the local machine.
- Configure aliases to interact with Kubernetes.
- Test the configured aliases
To setup this, we need to update our Kubectl with appropriate version.
Upgrade kubectl to v1.33+
For this feature to work, the Kubectl version should be 1.33 or higher.
Visit the official kubectl documentation and upgrade kubectl to version 1.33 or later.
To validate the installed kubectl version, run the following command. Make sure the version is 1.33 or higher.
$ kubectl version  --client

Client Version: v1.33.1
Kustomize Version: v5.6.0
Once the version is confirmed, we can configure the Kuberc.
The configuration of the Kuberc involves the creation of files and adding alias configurations.
Enable Kuberc Feature
Kubectl will not automatically use the kuberc file even after we upgrade the version to 1.33.
To enable this, we need to set an environment variable.
export KUBECTL_KUBERC=trueSetting the value true is telling the Kubectl to use the kuberc for aliases.
export KUBECTL_KUBERC to the system files, /.bashrc or /.bash-profile or ~/.profile.Kuberc File Location
The default kuberc configuration file path is ~/.kube/kuberc
When you enable the Kuberc feature using the environment variable, Kubectl will look into the default location.
If you want to give a custom path, you need to use the --kuberc flag with the kubectl command to give the configuration path.
kubectl --kuberc <CUSTOM KUBERC CONFIG PATH> <COMMAND>--kuberc flag lets you use different kuberc files for various projects or environments.If you use this flag, Kubectl ignores the default kuberc instead it uses the specified one.
Create a Kuberc File
The kuberc configuration is also similar to the Kubernetes object manifest, which means the configuration has the apiVersion and the kind.
Create a YAML file in the home directory (~/.kube/kuberc)
vim ~/.kube/kubercOnce the file is created, we can add our necessary aliases to it.
Example Kuberc Configuration
Here is the example structure of the kuberc YAML configuration.
apiVersion: kubectl.config.k8s.io/v1beta1
kind: Preference
aliases:
  - name: kgp
    command: get
    appendArgs:
      - pods
  - name: klogs
    command: logs
    appendArgs:
      - --follow
      - --tail=50
  - name: crns
    command: create namespace
    appendArgs:
      - dev-project-01

overrides:
  - command: apply
    flags:
      - name: server-side
        default: "true"
  - command: delete
    flags:
      - name: interactive
        default: "true"
  - command: get
    flags:
      - name: output
        default: "yaml"
  - command: exec
    flags:
      - name: it
Since this is an beta feature of the configuration, the apiVersion is kubectl.config.k8s.io/v1beta1 and the kind is Preference
This indicates that the object is the user's preferences for kubectl.
Now, you need to understand the following two key configs in kuberc.
1. aliases
Here is what the parameters under aliases section mean.
name--> The alias of the command that we want to usecommand--> Refers to what action should be performed, likeget,applyordelete.appendArgs--> Refers to the object that we want to use with the action, like pods, deployments, secrets, etc.
In the kuberc configuration, we can override the alias.
2. Overrides
Ovverides modify default behavior of certain commands.
For example, the alias kgp runs kubectl get po. But what if I want to run,
kubectl get po my-pod -o yamlThis is where the override function comes in.
In the overrides section, you can define flags as key-value pairs to set conditions like output, server-side and interactive,
output- Show the output of the object in a specific format like JSON or YAML.server-side- Execute the command without confirmationinteractive- Before execution, prompt for confirmationit: Attach-itflags to exec commands
Now we have added our aliases to a file. But keep in mind, by default the kuberc feature is disabled on the system.
Validating Kuberc
Now, we have enabled the Kuberc feature and created the Kuberc configuration file in ~/.kube/kuberc.
We can try the aliases from the given configuration.
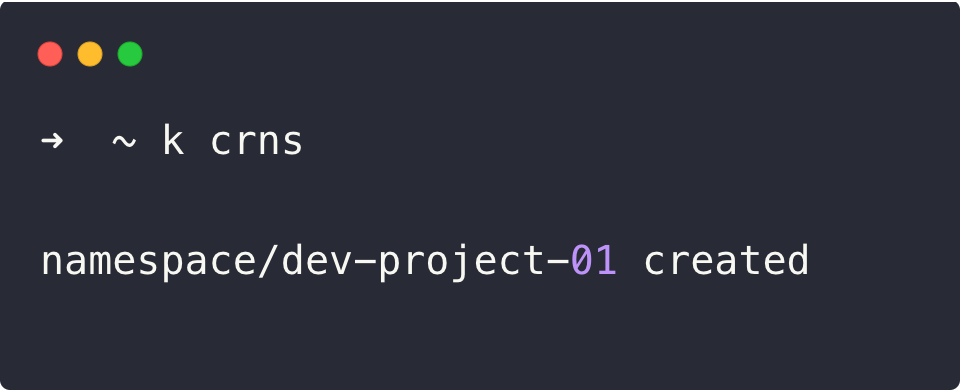
kubectl crnsThe above command will create a new namespace named dev-project-01
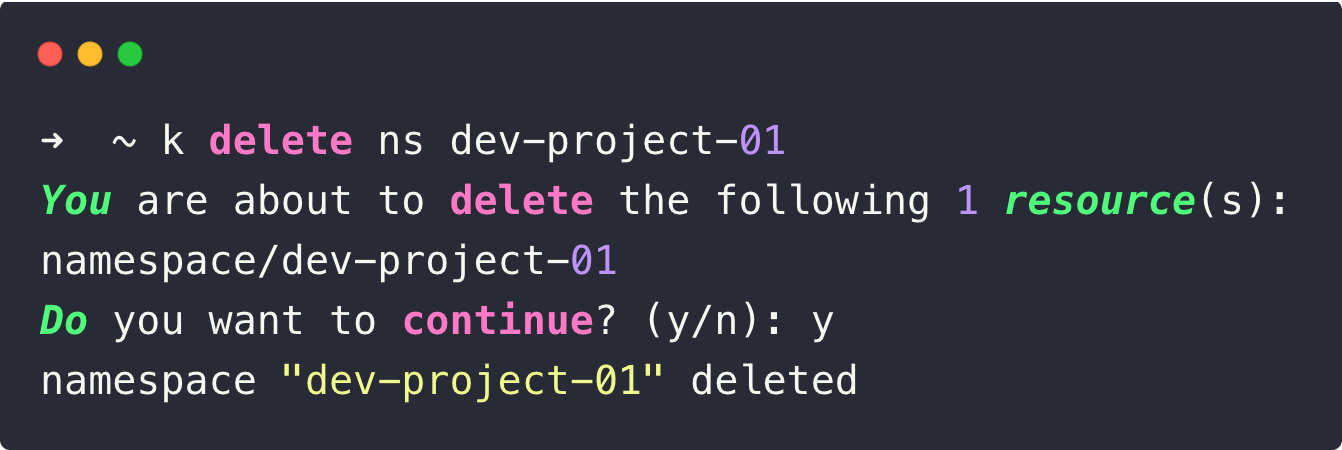
Let's try another one from the override configuration.
kubectl delete ns dev-project-01 This command will prompt for confirmation
The validation ensures that the Kuberc feature is successfully enabled.
Combining Kuberc with Shell Aliases and Autocompletion
We can still use the .bashrc or .zshrc along with kuberc for better convenience.
For example, set alias k=kubectl in .bashrc so that we can use k kgp instead of using kubectl kgp.
Also, if you customize only a few commands in kuberc we can use the rest of the aliases from the traditional one.
It works with autocompletion as well. So, simply pressing the Tab key will fill in the commands.
Disabling Kuberc
After the configuration, if you feel like you want to disable Kuberc temporarily, you can do that using the following variable.
export KUBERC=off
If you are using feature gate,
export KUBECTL_KUBERC=trueConclusion
In this blog, we explored how to enable and configure the new kuberc feature to enable kubectl alias.
Using kuberc, you can define aliases in a clean, YAML-based configuration file instead of cluttering your shell profiles.
You can even version-control your kuberc files on GitHub for collaboration