

This guide will teach you to install and configure the Ansible control node and hosts. Also, we will look at how to configure inventory that has to be managed by the Ansible server.
I would strongly suggest using Vagrant for all Ansible test purposes.
Setup Prerequisites
To follow this setup, you should have the following.
- One server for Ansible Control Node
- One or more ansible hosts to test ansible remote configurations and ad-hoc commands.
Install Ansible on Ubuntu
Choose the following methods for installing Ansible.
1. Using Pip
If you have python-pip installed in your system, use the following pip command.
sudo pip install ansible
2. Using Ubuntu apt repository
To install it from the apt repository, execute the following commands to install ansible.
sudo apt-add-repository -y ppa:ansible/ansible sudo apt-get update sudo apt-get install -y ansible
To validate the installation, execute the following ansible command.
ansible --version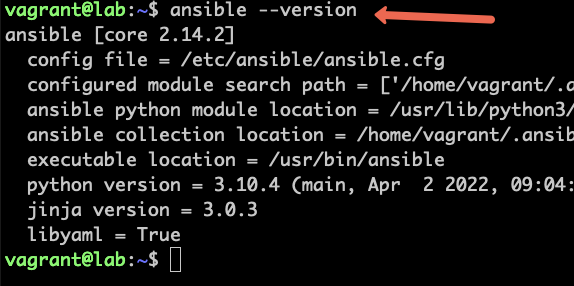
Configuring Ansible Inventory
All the servers that have to be managed using Ansible are called Ansible hosts.
Configure ansible.cfg
Ansible loads the configuration from the ansible.cfg file located in the following locations. The file precedence is as per the order given below.
- ANSIBLE_CONFIG env variable
- ./ansible.cfg (current directory)
- ~/.ansible.cfg (home directory)
- /etc/ansible/ansible.cfg
Open /etc/ansible/ansible.cfg file and add the following.
[defaults]
inventory = /etc/ansible/inventory.ini
host_key_checking = False
Here we have mentioned two default configurations.
- inventory: Location of the inventory file. Which we will discuss in the next section.
- host_key_checking: It disables the ssh host key checking when ansible tries to ssh into the remote machine.
Configure Ansible Inventory
Ansible keeps track of the hosts using the inventory file ( A file with the list of servers). It has the host the IP address/domain name with username, password, or SSH key information to connect to the node.
In every environment the servers are segregated as web group, DB group, app group, etc.. we can have similar segregation in our inventory file using labels. It is a recommended way of managing servers.
For instance, you might have dev, test, and prod servers. In this case, you can group servers from different environments under different labels.
By default, the inventory file named hosts is present in /etc/ansible/ directory. If you open the /etc/ansible/hosts you will find the sample host entries. Let's keep this file as a backup and create our own host file.
Let's create our own inventory file named inventory.ini as we mentioned in the ansible.cfg file.
sudo vi /etc/ansible/inventory.iniMy ansible host's IP addresses are 192.168.2.30 and 192.168.2.40 and I will be using them throughout the example. Replace it with your host's IP address. So I am adding it under the dev label. Modify the IP and label as per your requirements.
[dev]
192.168.2.30
192.168.2.40

[dev:vars]
ansible_user=ubuntu
ansible_ssh_pass=vargrant
ansible_private_key_file=/path/to/key.pem

[all:vars]
ansible_user=ubuntu
ansible_ssh_pass=vargrant
ansible_private_key_file=/path/to/key.pem

[local]
127.0.0.1[dev:vars] parameters are applied to the servers under the dev label. As we know that Ansible uses ssh for connecting to hosts. So we need to specify the username, password, or ssh key of those hosts.
If all the servers have the same username and password/ssh-key, you can mention it in dev:vars label.
If not you can specify it with the IP addresses separated by space as shown below.
192.168.2.30 ansible_user=vagrant ansible_ssh_pass=vargrant
[all:vars] The parameters added under this label will be applicable to all the servers mentioned in the inventory file. It is the global variable for all the servers under different labels.
The local label represents the Ansible server itself. So if you want to run a playbook on your ansible server, you can make use of the local label.
Test Remote Connection Using Ansible Ad-Hoc Command
Now we have every Configuration in place. Let's test our configuration using the following command.
ansible all -m ping
You should get the following success message.
vagrant@acs:/etc/ansible$ ansible all -m ping
192.168.2.30 | SUCCESS => {
    "changed": false,
    "ping": "pong"
}
192.168.2.40 | SUCCESS => {
    "changed": false,
    "ping": "pong"
}
Important Ansible Commands
You can check the configured inventory list using the following command.
ansible-inventory --list -y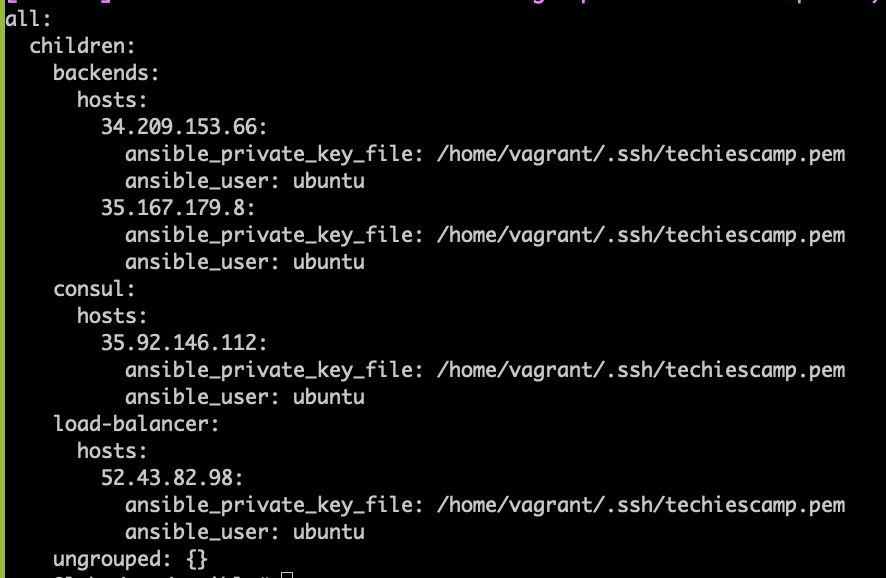
Run ad-hoc commands on all the servers in the inventory.
ansible all -b -m apt -a "name=vim state=latest" Conclusion
When it comes to configuration management, Ansible is one of the best options for devops engineers. Also when it comes to immutable infrastructure, you can use ansible along with tools like packer to create deployable VM images.
Wheater it is cloud or on-prem, Ansible provides good options for provisioning and configuration management. It can be easily integrated with the CI/CD systems as well.
