

In this blog, you will learn to Dockerize a Golang application. It is a step by step beginner-friendly tutorial.
By the end of this blog, you will have learned.
- How to create a simple Golang application
- Dockerize Golang application using scratch and distroless base images.
- How to run and test the Dockerized application.
- How to scan the Dockerfile using Hadolint
- How to scan the container image using Trivy
Lets get started.
Prerequisites
Once you ensure all the requirements are available, we can start building the application.
Steps to Dockerize a Golang Application
Follow the steps to Dockerize a Golang application.
Step 1: Clone the Repo
I have stored this tutorial's contents on the public repository, you can clone and use it if required.
git clone https://github.com/techiescamp-docker-images/dockerize-go-web-app.gitThe following is the structure of the cloned repository.
cd dockerize-go-web-app/hello-world.
├── Dockerfile
├── go.mod
├── index.html
└── main.goNow, we can start creating a simple Golang application.
Step 2: Create a Golang Application
First, you need to create a directory named go-web-app and initialize the Go module.
go mod init go-appThis will create a module file and create a main file named main.go for our application.
Add the following contents to the file.
package main

import (
    "io/ioutil"
    "log"
    "net/http"
)

func handler(w http.ResponseWriter, r *http.Request) {
    // Read the HTML file
    html, err := ioutil.ReadFile("index.html")
    if err != nil {
        http.Error(w, "Could not read HTML file", http.StatusInternalServerError)
        return
    }

    // Set the content type to HTML and write the HTML content
    w.Header().Set("Content-Type", "text/html")
    w.Write(html)
}

func main() {
    http.HandleFunc("/", handler)
    log.Println("Server is listening on port 8080")
    if err := http.ListenAndServe(":8080", nil); err != nil {
        log.Fatalf("Failed to start server: %s", err)
    }
}
To create this application, I have used these three packages.
- io/ioutil - This package is used to read/write files. I am using a custom HTML page for the output.
- log - This package is used to generate logs based on the errors and status.
- net/http - This is the major package that handles the HTTP requests and responses of our web application.
Step 3: Create the HTML File
Create an HTML file (index.html) for our web application and add the following contents.
<!DOCTYPE html>
<html lang="en">
<head>
    <meta charset="UTF-8">
    <meta name="viewport" content="width=device-width, initial-scale=1.0">
    <title>Hello, World!</title>
    <link href="https://fonts.googleapis.com/css2?family=Roboto:wght@300&display=swap" rel="stylesheet">
    <style>
        body {
            display: flex;
            justify-content: center;
            align-items: center;
            height: 100vh;
            margin: 0;
            background: linear-gradient(135deg, #f5f7fa, #c3cfe2);
            font-family: 'Roboto', sans-serif;
        }
        .hello {
            font-size: 3em;
            text-align: center;
            color: #333;
            padding: 20px;
            border-radius: 10px;
            background: rgba(255, 255, 255, 0.8);
            box-shadow: 0 4px 6px rgba(0, 0, 0, 0.1);
        }
    </style>
</head>
<body>
    <div class="hello">
        <p>Hello, World!</p>
    </div>
</body>
</html>
Once the main Go file and HTML file are ready, we can test them from our local machine
Step 4: Run the Application Locally
Before we run the application, we need to compile the code.
To compile and run the application, use the following command.
go run main.goOnce the app starts running, we can access the web page from our local machine.
For that, open any browser and paste the URL http://localhost:8080/
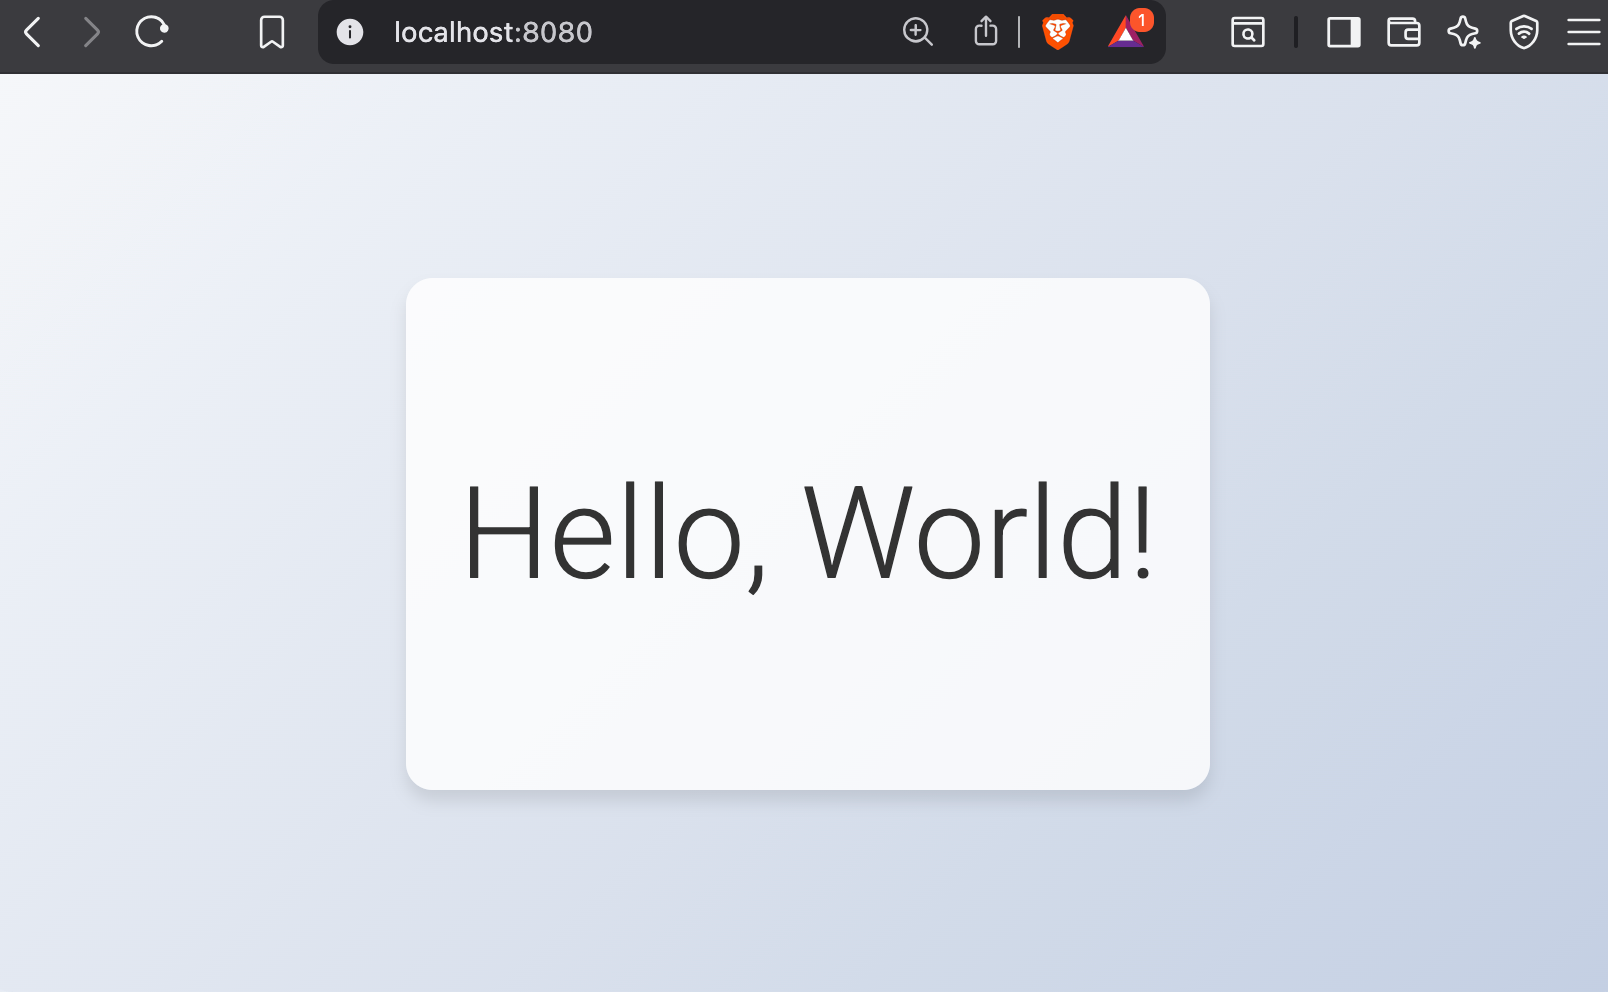
Now, we confirmed that our application is running without any issues, so we can start containerizing the application.
Step 5: Create a Dockerfile for the Go Application
We need to build a Docker image using a multi-stage build to optimize the Docker image.
We will look at both scratch image and distroless image options.
Golang image using scratch image
alpine or ubuntu. Instead, you build your image from nothing, only adding the files you need.It works well with Golang because, Go programs can be compiled into a self-contained static binary that doesn’t need any operating system packages.
Create a Dockerfile and add the following contents.
# Stage 1: Build the Go binary
FROM golang:1.21-alpine AS builder

RUN adduser -D builderuser

WORKDIR /app


COPY main.go .
COPY index.html .

# Use go modules if needed
# COPY go.mod go.sum ./
# RUN go mod download


RUN CGO_ENABLED=0 GOOS=linux go build -o server main.go

# Stage 2: Minimal secure runtime
FROM scratch

WORKDIR /app

COPY --from=builder /app/server .
COPY --from=builder /app/index.html .

USER 1000

EXPOSE 8080

ENTRYPOINT ["./server"]
Now, we have created the Dockerfile.
The following is the explanation of what we have done in the Dockerfile to optimize the build.
- In stage 1, we use the official
golang:1.21-alpineimage to download the dependencies and compile the code. - Then we compile go app with
CGO_ENABLED=0 GOOS=linux go buildthat produces a single binary file that contains your code, Go runtime and all the dependencies. - In stage 2, we have used a lightweight Scratch image to run the compiled code from stage 1.
- To follow the security best practices, we created a non-root user
builduser,to run the application inside the container. - Exposing the application on Port
8080to access the application.
Although scratch image are very minimal, it comes with certain disadvantages. For example, it does not include the standard CA certificate bundle (/etc/ssl/certs/ca-certificates.crt).
Many apps (APIs, web servers, DB clients) need TLS/SSL certificates (like root CAs) to make secure HTTPS connections.
That means you must manually copy certificates into the image and keep them updated.
So a better and safe alternative is Distroless images explained in the next section.
Golang Image using Distroless Base Image
For enterprise environments, the certificate management complexity alone often makes distroless more practical than true scratch images.
Here is the Dockerfile using Distroless base image.
# Stage 1: Build the Go binary
FROM golang:1.21-alpine AS builder
WORKDIR /app

COPY main.go .
COPY index.html .

RUN CGO_ENABLED=0 GOOS=linux go build -ldflags="-s -w" -o server main.go

# Stage 2: Distroless runtime with basic OS data
FROM gcr.io/distroless/base
WORKDIR /app

COPY --from=builder /app/server /app/server
COPY --from=builder /app/index.html /app/index.html

USER nonroot:nonroot

EXPOSE 8080
ENTRYPOINT ["/app/server"]
Step 6: Create a Container Image
To create the container image, use the following command with any of the Dockerfiles from above.
sudo docker build -t go-web-app .go-web-app is the image name, you can change it if required.
To list the available images, use the following command.
$ sudo docker images

REPOSITORY                   TAG       IMAGE ID       CREATED         SIZE
go-web-app                   latest    fbfe728d2742   2 minutes ago   6.72MB
Once the container image is created, it is better to push it to a repository like Docker Hub or JFrog.
Now, the container image is ready, so we can run the container.
Step 7: Run Containerized Go Application
The Go web application container image is ready, so we can create a container with this image.
sudo docker run -d --name go-app -p 8080:8080 go-web-appgo-app- Name of the container-p 8080:8080- Map host port 8080 to the container port 8080go-web-app- Name of the container image that we built.
To list the running containers, use the following command.
$ sudo docker ps

CONTAINER ID   IMAGE        COMMAND      CREATED         STATUS         PORTS                    NAMES
7f4d904b3f84   go-web-app   "./server"   6 minutes ago   Up 6 minutes   0.0.0.0:8080->8080/tcp   go-app
Now, we can try to access our application using the URL.
Here, we have used localhost because the application is running on our local Docker engine, but if you are using a cloud instance like EC2, then you can use the IP address of the instance instead of localhost.
Now, our deployment is completed, though we need to follow the security practices if we are doing this for an organization or in a real project.
Container Security Best Practices
Vulnerabilities can be present in both the Dockerfile and the container images, so we need to scan them both.
Scan the Dockerfile
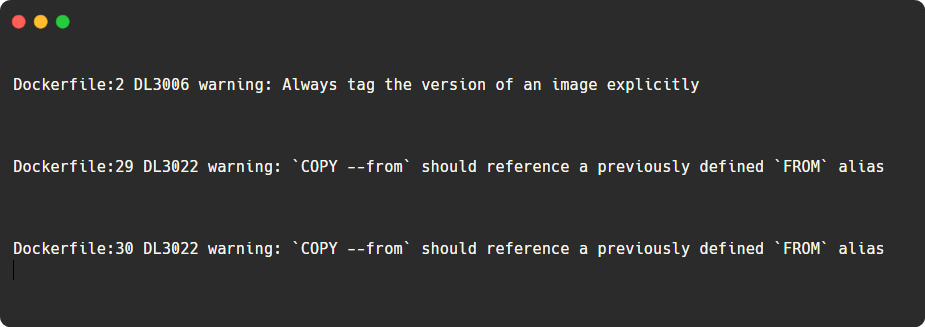
To scan the Dockerfile and identify the misconfiguration, we are using a linting tool, which is Hadolint.
To install the Hadolint on your machine and learn more about it, refer to this blog.
Currently, our Dockerfile doesn't have any issues, though I have made some intentional misconfiguration for the demo
hadolint DockerfileThe output will prompt where the changes are required, and if your Dockerfile doesn't have any issues, you will not see any output.
Now, we can scan the container image.
Scan Container Image
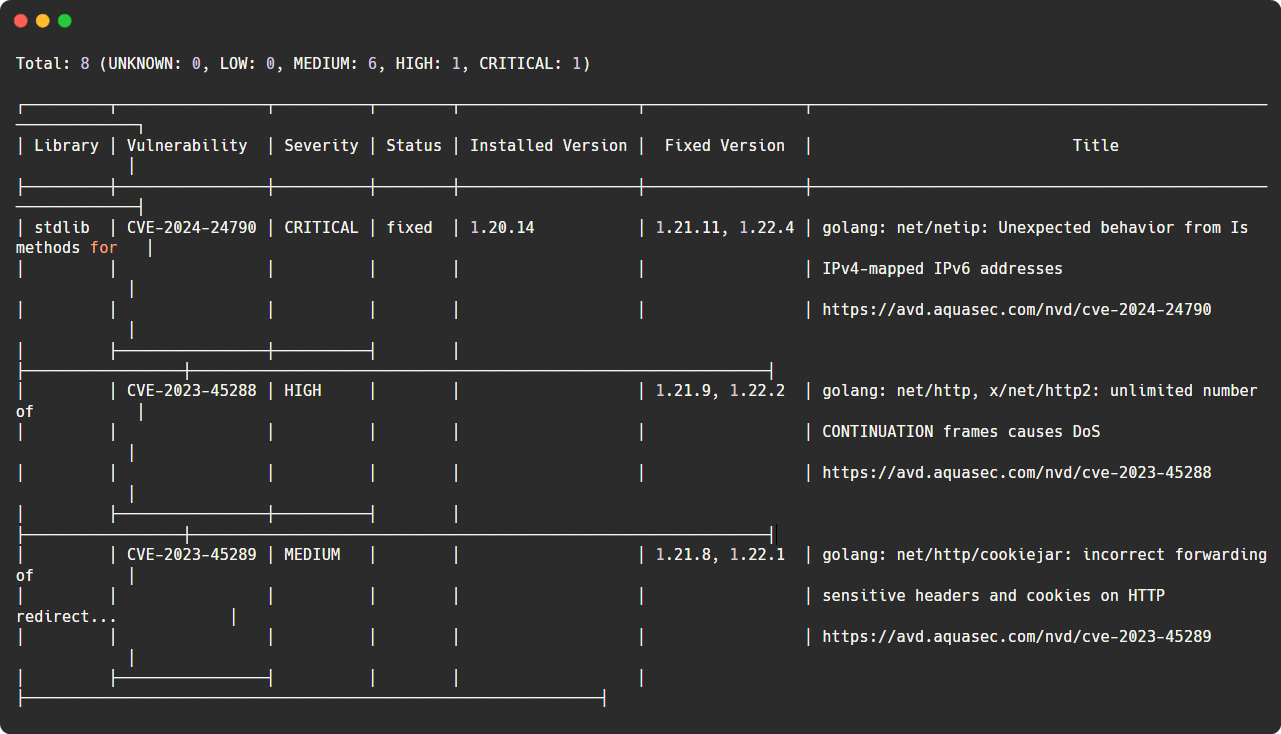
To identify the vulnerabilities of our container, we can use the Trivy tool.
To install Trivy and to know about its use cases, you can refer to this blog.
After installing the utility, use the following command to identify the vulnerabilities of the container image.
sudo trivy image go-web-appThis will list the vulnerabilities based on the severity levels.
This is how we containerize a Go application.
Conclusion
We have successfully containerized our Go web application. This helps you understand how to containerize your own Golang applications.
There is more you can do with that, and don't forget to store the container image in a container repo such as Dockerhub or ECR.
Always follow the security best practices when you containerize the application, and you can also integrate these scanning tools into your CI/CD pipelines to automate the process.
