

Consul is an open source key-value store. It is used for use cases such as service discovery, config management, etc. This guide has detailed instructions to set up a consul cluster with multiple nodes.
Prerequisites
- Three Linux servers
- Following ports opened between all three servers. If you on AWS, Azure or GCP make sure you have the security groups and firewall tags added properly to allow communications of the below-mentioned ports.
- 8300 - TCP
- 8301 - TCP & UDP
- 8302 - TCP & UDP
- 8400 - TCP
- 8500 - TCP
- 8600 - TCP & UDP
Setup Consul Cluster
This tutorial is based on a three-node consul cluster. The nodes are named as follows.
- consul-1
- consul-2
- consul-3
Follow the steps given below for a fully functional consul cluster.
Install and Configure Consul on All the Three Nodes
The following steps have to be performed on all the three nodes except step 4.
Step 1: CD into bin directory and download Linux consul binary from here
cd /usr/local/bin
sudo curl -o consul.zip https://releases.hashicorp.com/consul/1.6.0/consul_1.6.0_linux_amd64.zip
Step 2: Unzip the downloaded file and remove the zip file.
unzip consul.zip
sudo rm -f consul.zip
Step 3: Create the following two directories.
sudo mkdir -p /etc/consul.d/scripts
sudo mkdir /var/consul
Step 4: Create a consul secret using the following command from one of the three servers. Copy the secret to a text file.
consul keygenStep 5: Create a config file on all three servers.
sudo vi /etc/consul.d/config.jsonCopy the following config to the file. Replace encrypt value with the secret created in step 4 and start_join IP's with your server IP's.
{
    "bootstrap_expect": 3,
    "client_addr": "0.0.0.0",
    "datacenter": "Us-Central",
    "data_dir": "/var/consul",
    "domain": "consul",
    "enable_script_checks": true,
    "dns_config": {
        "enable_truncate": true,
        "only_passing": true
    },
    "enable_syslog": true,
    "encrypt": "goplCZgdmOFMZ2Q43To0jw==",
    "leave_on_terminate": true,
    "log_level": "INFO",
    "rejoin_after_leave": true,
    "server": true,
    "start_join": [
        "10.128.0.2",
        "10.128.0.3",
        "10.128.0.4"
    ],
    "ui": true
}
Create a Consul Service
Execute the following steps on all the three nodes.
Step 1: Create a systemd file.
sudo vi /etc/systemd/system/consul.serviceCopy the following contents to the file.
[Unit]
Description=Consul Startup process
After=network.target

[Service]
Type=simple
ExecStart=/bin/bash -c '/usr/local/bin/consul agent -config-dir /etc/consul.d/'
TimeoutStartSec=0

[Install]
WantedBy=default.target
Step 2: Reload the system daemons
sudo systemctl daemon-reloadBootstrap and Start the Cluster
Step 1: On consul-1 server, start the consul service
sudo systemctl start consulStep 2: Start consul on other two servers (Consul-2 and consul-3) using the following command.
sudo systemctl start consulStep 3: Check the cluster status by executing the following command.
/usr/local/bin/consul membersYou should get an output like the following. It means your consul cluster is up and running.
[devopscube@consul-1 ~]$ /usr/local/bin/consul members
Node      Address          Status  Type    Build  Protocol  DC          Segment
consul-1  10.128.0.2:8301  alive   server  1.2.0  2         us-central  <all>
consul-2  10.128.0.3:8301  alive   server  1.2.0  2         us-central  <all>
consul-3  10.128.0.4:8301  alive   server  1.2.0  2         us-central  <all>
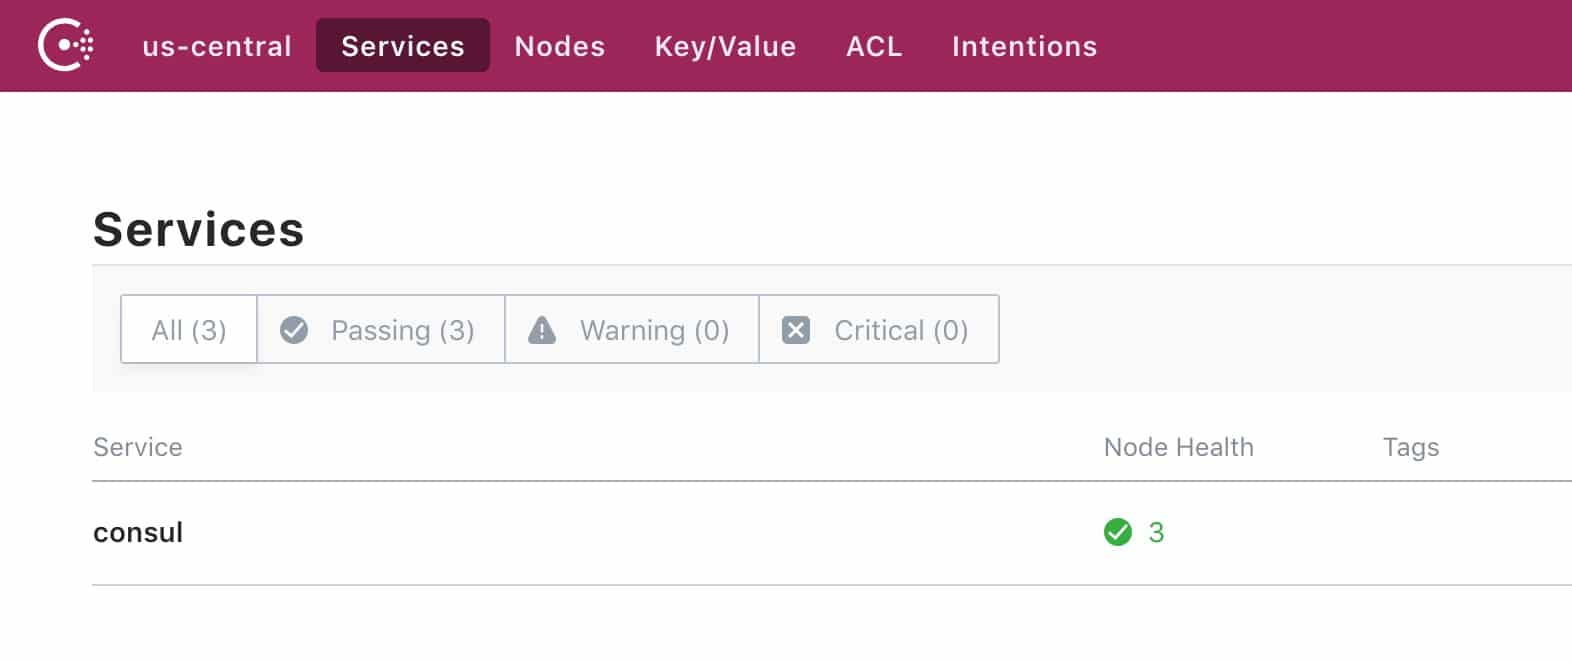
Access Consul UI
From consul version 1.20, UI is an inbuilt consul component.
You can access the consul web UI using the following URL syntax.
http://<consul-IP>:8500/uiFor example,
http://35.238.163.87:8500/uiYou can view the UI as shown below.
Also, you can view a complete UI demo from here
Other Consul Blog Series,
