In this guide, we will look at the step by step guide to Dockerize Java Application. We will also look at the best practices you should follow to use the image in production.
Prerequisites
To build a java Docker image, the following are the prerequisites.
- Docker installed in your system.
- Java application JAR file that has to be Dockerized.
Build the Java Jar
If you already have your own java application or jar file, move on to the next section.
If you are learning, check out the build java application blog where you can create a jar file from a Spring Boot application.
Or you can use java petclinic spring boot application for your testing
git clone https://github.com/techiescamp/java-spring-petclinic

cd java-spring-petclinic

mvn clean install -Dmaven.test.skip=true
Create Java Application Docker Image
To create a Docker image of a Java application, first, you need to create a Dockerfile.
We will be using techiescamp/jre-17:1.0.0 as a base image for the application.
Note: If you cannot access public docker hub registry, replace the base images with JRE base images provided by your organizations private contianer registry.
Usually the Dockerfile will be placed in the application code folder. In that case, the application jar file would be present under the /target folder. If you have the jar file in a different location, replace /target/*.jar with the actual path in the Dockerfile.
For example, the following tree shows that I have created the Dockerfile inside the application code folder where I have the target folder containing the jar file.
.
├── Dockerfile
├── LICENSE.txt
├── pom.xml
├── readme.md
├── src
└── target
Now, create a Dockerfile in your application folder with the following content.
FROM techiescamp/jre-17:1.0.0
WORKDIR /app

# Copy the JAR file (/app)
COPY /target/*.jar ./java.jar

# Expose the port the app runs on
EXPOSE 8080

# Run the jar file
CMD ["java", "-jar", "java.jar"]
Here is the explanation for the Dockerfile.
./app.jarmeans "copy the JAR file(s) from the /target directory on the host machine to the/appdirectory inside the container and rename it (or them) to app.jar."- This Dockerfile will create a Docker image with the image eclipse-temurin:17-jre as its base image, and copy the JAR file into the Docker image's /app working directory .
- Then it exposes port 8080 and runs the JAR file using CMD instruction .
Now, lets build the Java application Docker image using the command given below
docker build -t java-application:1.0.0 .Use the docker images command to list your docker image as given below
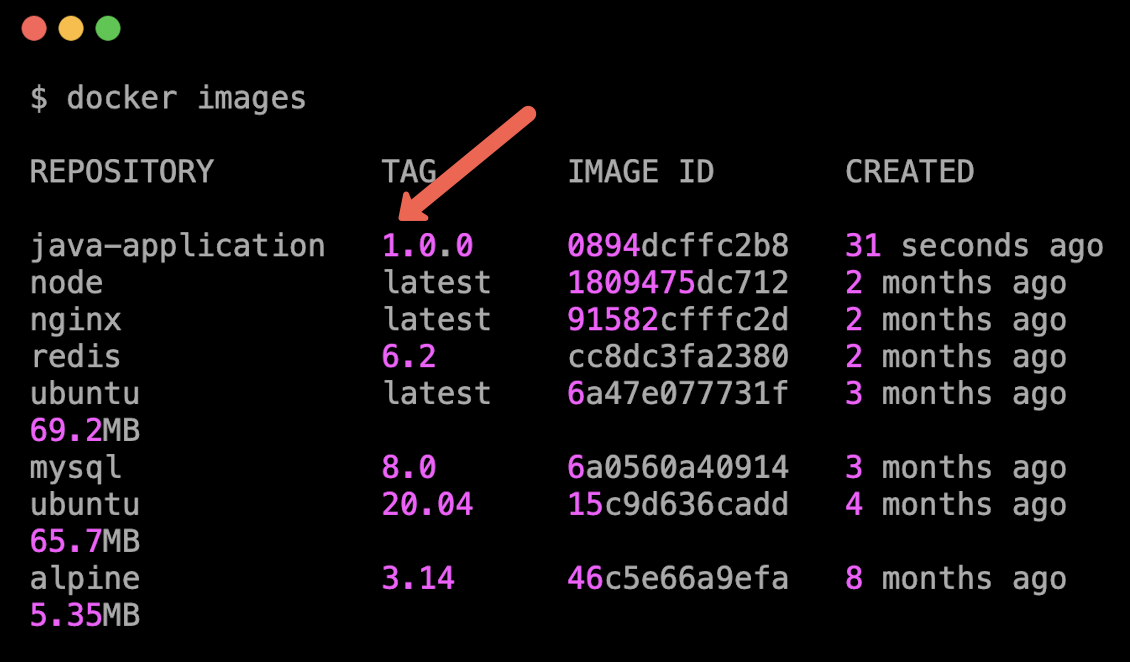
Once your Docker image build has been finished, run the Docker image using the command below.
docker run -d -p 8080:8080 java-application:1.0.0This command will run your Java application in a container. Make sure to change the port if you are exposed to a different port.
Use the docker ps command to list the running container as given below

Now, check if your application is on the browser using localhost:8080. I exposed my application on port 8080 so I specify it on the browser, you make sure to give the port number you exposed.
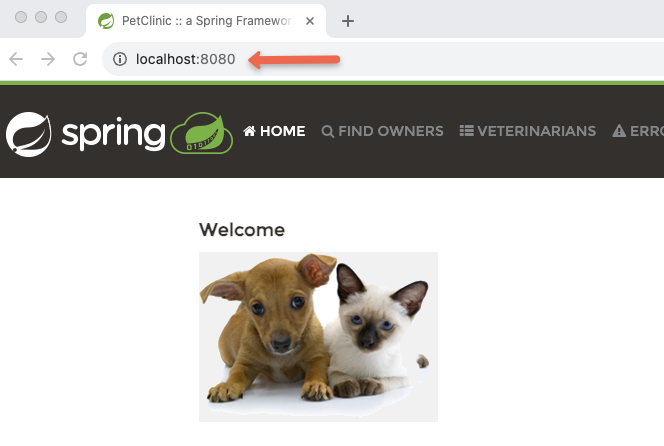
Using Distroless Java Base Image
Here is the Dockerfile that uses Distroless Java base image from google.
# Use the distroless Java base image
FROM gcr.io/distroless/java17-debian12

# Set the working directory in the container
WORKDIR /app

# Copy the JAR file into the container at /app
COPY target/*.jar java.jar

# Expose the port your app runs on
EXPOSE 8080

# Run the jar file
CMD ["java.jar"]
For the distroless java image, the Entrypoint is set to java -jar by default. So we can use java.jar directly with the CMD as given above.
Using Docker Multistage Build for Java application
Using multistage build, you can build the java application and dockerize the application using a single Dockerfile.
Create a Dockerfile with the below content
FROM techiescamp/jdk-17:1.0.0 AS build

# Copy the Java Application source code
COPY . /usr/src/

# Build Java Application
RUN mvn -f /usr/src/pom.xml clean install -DskipTests

FROM techiescamp/jre-17:1.0.0
WORKDIR /app

# Copy the JAR file from the build stage (/app)
COPY --from=build /usr/src/target/*.jar ./java.jar

# Expose the port the app runs on
EXPOSE 8080

# Run the jar file
CMD ["java", "-jar", "java.jar"]- You can see in the above Dockerfile that it has two stages, the first stage builds the application and the second stage runs the application.
- The first stage used a
techiescamp/jdk-17:1.0.0image as its base image. - The
techiescamp/jdk-17:1.0.0has JDK-17 and Maven-3.9.4 installed in it which is required to build the Java application. - Then it copies the Java application source code and pastes it in
/usr/src/, make sure to specify the path of your Java application source code. - Finally, it starts building the application using the
mvn clean installcommand. - The second stage uses
techiescamp/jre-17:1.0.0as its base image and it copies the JAR file from the build stage directory/usr/src/target/to the current working directory/appasjava.jar. - Then it exposes port 8080 and runs the JAR file using the java -jar command.
Now, build the image and run the container using the command given below
docker build -t java-application:2.0.0 .Use the docker images command to list your docker image as given below

Once your Docker image build has been finished, run the Docker image using the command below
docker run -d -p 8080:8080 java-application:2.0.0This command will run your Java application in a container. Make sure to change the port if you are exposed to a different port.
Use the docker ps command to list the running container as given below
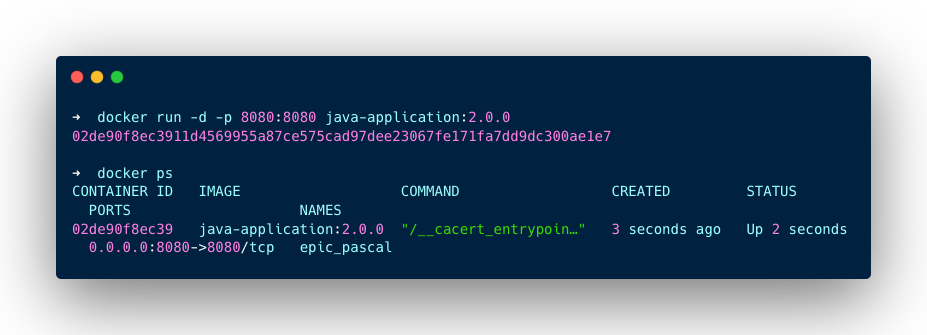
Now, check if your application is on the browser using localhost:8080. I exposed my application on port 8080 so I specify it on the browser, you make sure to give the port number you exposed.
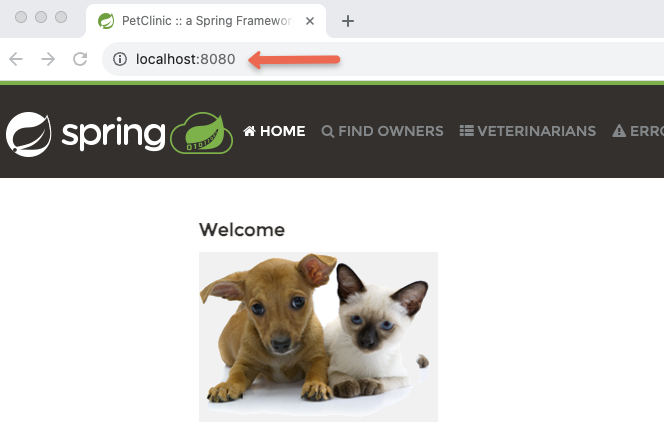
Best Practises
When working with java application docker images for production workloads, ensure you follow the Docker image best practices given below.
Lint Dockerfile
Use Hadolint to check your Dockerfile for possible errors, security vulnerabilities, and performance problems. Install Hadolint and use the below command to lint your Dockerfile
hadolint DockerfileMake sure to run this command in the same directory where your Dockerfile is.
For more information about Hadolit refer to this blog.
Scan for Vulnerabilities
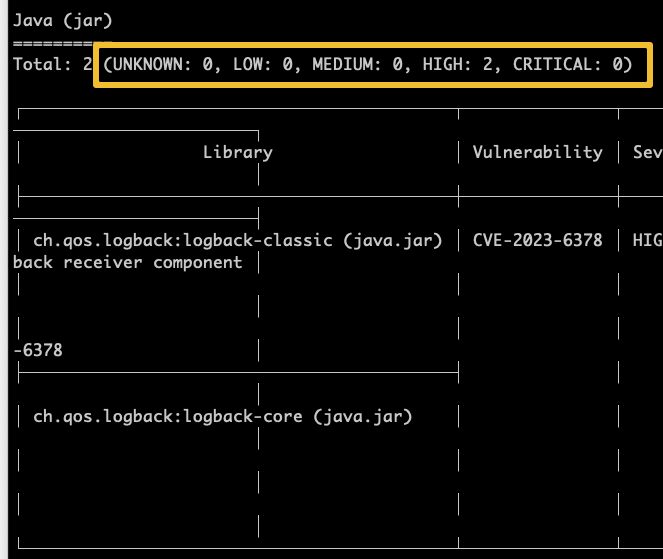
Use tools like Trivy to scan the Docker images for vulnerability. Install trivy in your system and use the below command to scan your Docker image
trivy image java-application:2.0.0Replace java-application:2.0.0 with your Java Docker image.
Optimize Java Image Size
Optimizing docker images is very much important in project environments.
Apart from following Dockerfile best practices and distroless minimal images, you can also use SlimToolkit to reduce the size of your Java Docker image.
First, create a preserved-paths.txt file with the file name or file path you don't want to get removed during slim run.
/app
/usr/bin/
In my txt file, I have specified the path where my application is present and the path where Java is installed. Now, run the below command to slim the Docker image with the txt file.
slim build --http-probe=false --preserve-path-file preserved-paths.txt java-application:2.0.0This command will slim the Docker images without affecting the file or file path mentioned in the txt file. Now if you you check the docker image size, it will be considerably reduced.
Versioning Docker Image
Use Semantic Versioning when tagging Docker images to ensure clarity and consistency in versioning practices. An example is given below, in that 2.0.0 is the semantic version.
java-application:2.0.0You can also see I used 1.0.0 for the first example image and 2.0.0 for the second example image.
Conclusion
I have covered most of the information and practical examples to Dockerize a java application.
In project environments, make sure you lint and run vulnerability scans before pushing to the registry. Usually these are taken care by automated CI/CD pipelines.
Also, choosing the base image depends on the project requirements. Always try to use minimal base images.
If you face any errors during the build process or have any queries, drop a comment below. We will take a look.


