

Sonatype Nexus is one of the best open-source artifact management tools. It is some tool that you cannot avoid in your CI/CD pipeline. It effectively manages deployable artifacts.
Sonatype Nexus System Requirements
- Minimum 1 VCPU & 2 GB Memory
- Server firewall opened for port 22 & 8081
- OpenJDK 17
- All Nexus processes should run as a non-root nexus user.
Sonatype Nexus 3 on Linux ec2
This article guides you to install and configure Sonatype Nexus 3 in a secure way on an ec2 Linux System.
Step 1: Login to your Linux server and update the yum packages. Also install required utilities.
sudo yum update -y
sudo yum install wget -y
Step 2: Install OpenJDK 1.8
sudo yum install java-17-openjdk -yStep 3: Create a directory named app and cd into the directory.
sudo mkdir /app && cd /appStep 4: Download the latest nexus. You can get the latest download links fo for nexus from here.
sudo wget -O nexus.tar.gz https://download.sonatype.com/nexus/3/latest-unix.tar.gzUntar the downloaded file.
sudo tar -xvf nexus.tar.gzRename the untared file to nexus.
sudo mv nexus-3* nexusStep 5: As a good security practice, it is not advised to run nexus service with root privileges. So create a new user named nexus to run the nexus service.
sudo adduser nexusChange the ownership of nexus files and nexus data directory to nexus user.
sudo chown -R nexus:nexus /app/nexus
sudo chown -R nexus:nexus /app/sonatype-work
Step 6: Open /app/nexus/bin/nexus.rc file
sudo vi /app/nexus/bin/nexus.rcUncomment run_as_user parameter and set it as following.
run_as_user="nexus"Step 7: If you want to change the default nexus data directory, open the nexus properties file and change the data directory -Dkaraf.data parameter to a preferred location as shown below. If you don't specify anything, by default nexus data directory will be set to /app/sonatype-work/nexus3
sudo vi /app/nexus/bin/nexus.vmoptionsAn example configuration is shown below.
-Xms2703m
-Xmx2703m
-XX:MaxDirectMemorySize=2703m
-XX:+UnlockDiagnosticVMOptions
-XX:+UnsyncloadClass
-XX:+LogVMOutput
-XX:LogFile=../sonatype-work/nexus3/log/jvm.log
-XX:-OmitStackTraceInFastThrow
-Djava.net.preferIPv4Stack=true
-Dkaraf.home=.
-Dkaraf.base=.
-Dkaraf.etc=etc/karaf
-Djava.util.logging.config.file=etc/karaf/java.util.logging.properties
-Dkaraf.data=/nexus/nexus-data
-Djava.io.tmpdir=../sonatype-work/nexus3/tmp
-Dkaraf.startLocalConsole=false
Running Nexus as a System Service
It is better to have systemd entry to manage nexus using systemctl. Follow the steps given below for adding nexus as a systemd service.
Create a nexus systemd unit file.
sudo vi /etc/systemd/system/nexus.serviceAdd the following contents to the unit file.
[Unit]
Description=nexus service
After=network.target

[Service]
Type=forking
LimitNOFILE=65536
User=nexus
Group=nexus
ExecStart=/app/nexus/bin/nexus start
ExecStop=/app/nexus/bin/nexus stop
User=nexus
Restart=on-abort

[Install]
WantedBy=multi-user.target
Manage Nexus Service
Now we have all the configurations in place to run nexus.
Execute the following command to add nexus service to boot.
sudo chkconfig nexus onTo start the Nexus service, use the following command. If you are having trouble starting nexus, please check the troubleshooting section below.
sudo systemctl start nexusThe above command will start the nexus service on port 8081. To access the nexus dashboard, visit http://:8081. You will be able to see the nexus homepage as shown below.
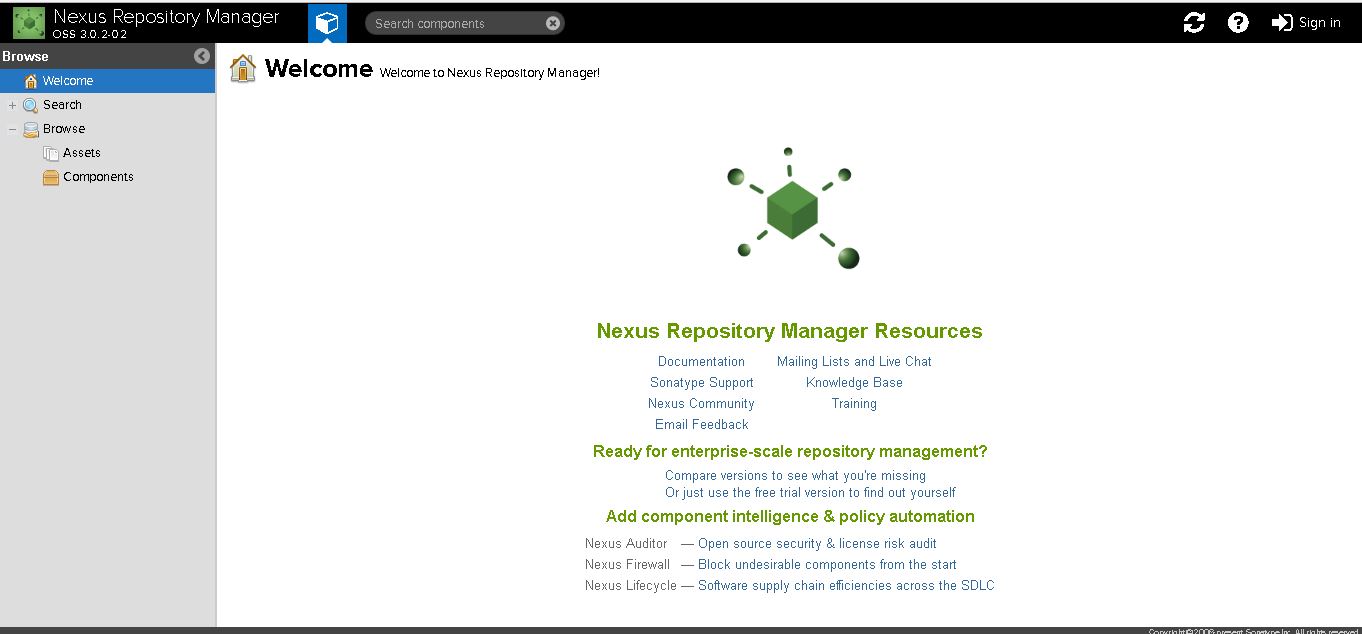
To log in, use the default username and password.
Default username is admin
You can find the default admin password in /app/sonatype-work/nexus3/admin.password file. The path will be shown in the login screen as show below.
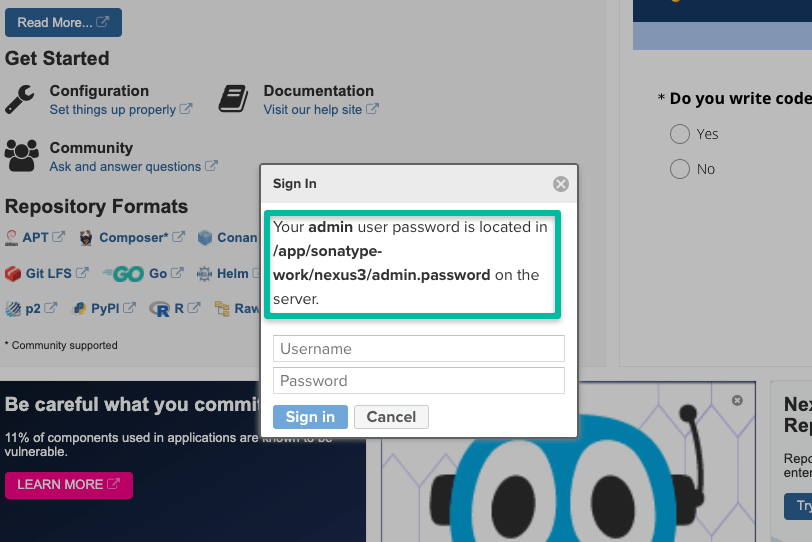
cat /app/sonatype-work/nexus3/admin.passwordOnce you login, you will be prompted to reset the password.
For stopping nexus, execute
sudo systemctl stop nexusFor restarting nexus,
sudo systemctl restart nexusSonatype Nexus not Starting [Troubleshooting]
Sometimes, if the server is enabled with SELINUX, you might get the following error. (Commonly on Centos Servers)
Job for nexus.service failed because the control process exited with error code.
See "systemctl status nexus.service" and "journalctl -xe" for details.
Execute the following command and see the actual error.
journalctl -xeCheck the output for the following SELINUX issue.
SELinux is preventing /usr/lib/systemd/systemd from execute access on the file nexus.To rectify this issue, add a SELinux policy to allow Systemd to access the nexus binary in path /app/nexus/bin/nexus using the following command.
sudo chcon -R -t bin_t /app/nexus/bin/nexusNow, start the Nexus server again.
sudo systemctl start nexusFAQs
How to check the Nexus version in Linux?
You can find the Nexus version from the Dashboard. Also, if you want to find the version from the Linux command line, execute the following command.curl --include --silent http://localhost:8081/ | grep Server
How to start Nexus in Linux?
Nexus binary comes as an executable. You can use the binary path to start nexus. For background execution, you can create a systemd file with nexus configurations.
