

In this blog, I will show you how to enable password-based SSH authentication for Digital Ocean Droplets.
Note: This will work on Ubuntu, Debina, Fedora and other linux Droplets.
Password Login Error
Digital ocean droplets support both SSH key and password-based authentication.
By default, if you choose SSH key based authentication by creating SSH keys, you cannot use a password to log in to the Droplet.
For example, you might configure a Wordpress setup using Serverpilot and create a system user and password.
If you try to use the username and password to login, you will get the ermission denied (publickey) error as shown below.
The authenticity of host '165.227.121.128 (165.227.121.128)' can't be established.
ED25519 key fingerprint is SHA256:x5Zx6Z3GdqOHintxvrPnChPcYX+uG6plswRgsi6lKUQ.
This key is not known by any other names
Are you sure you want to continue connecting (yes/no/[fingerprint])? yes
Failed to add the host to the list of known hosts (/Users/serverpilot/.ssh/known_hosts).
serverpilot@165.227.121.128: Permission denied (publickey).
Now lets look at the solution to enable password based authentication on Droplets.
Enable Password Authentication
Follow the steps given below enable the password authentication.
Step 1: Login to the Droplet as root
If you have keypair to login, you can use the ssh command to login to the server.
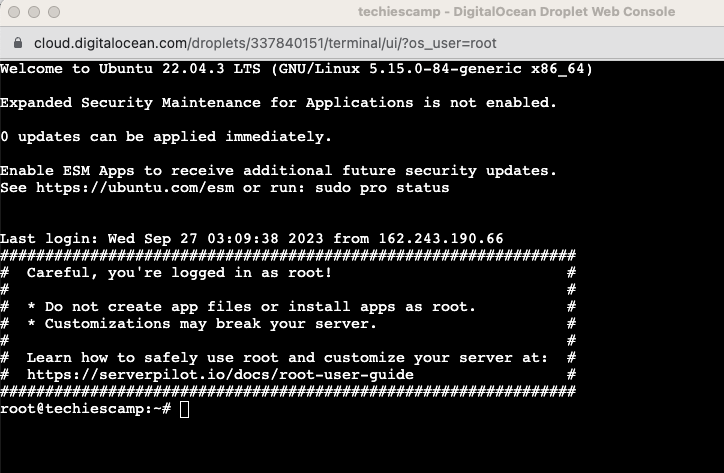
If you don't have the keypair, use the Launch Droplet Console option present in the Droplet settings as shown below.
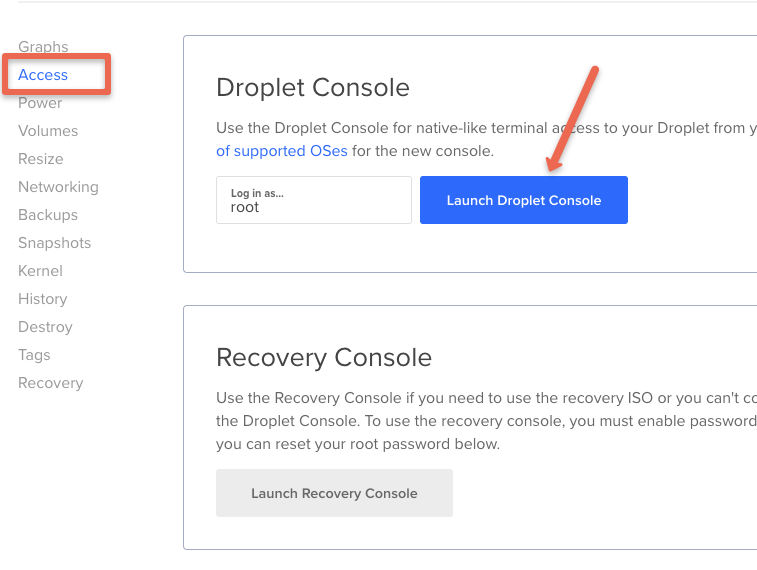
It will open a browser based SSH terminal as shown below.
Step 2: Locate cloud-init.conf
All the ssh related configuration are present in the sshd_config file located in the /etc/ssh folder.
Open the /etc/ssh/sshd_config file using vi editor.
vi /etc/ssh/sshd_configNow, inside you will find the following Include statement in the starting of the sshd_config file.
Include /etc/ssh/sshd_config.d/*.confcd into /etc/ssh/sshd_config.d folder. This folder contains cloud-init.conf file with system wide PasswordAuthentication parameter.
cd /etc/ssh/sshd_config.dIf you list the files you will see a file named 50-cloud-init.conf
root@techiescamp:~# cd /etc/ssh/sshd_config.d/
root@techiescamp:/etc/ssh/sshd_config.d# ls
50-cloud-init.conf
root@techiescamp:/etc/ssh/sshd_config.d#
Step 3: Enable PasswordAuthentication in 50-cloud-init.conf
Open the 50-cloud-init.conf file in vi or nano editor.
50-cloud-init.confYou will find the PasswordAuthentication parameter set to no. Change it to yes as shown below and save the file.
PasswordAuthentication yesStep 4: Restart SSHD Service
Now, restart the sshd service for the changes to take effect.
sudo systemctl restart sshdStep 5: Login Using Username and Password
Now that we have enabled the password authentication, you can login to the Droplet using username and password.
Conclusion
I would always recommend using SSH key pair for Droplet authentication. However, if you have a usecase to have username and password based authentication, ensure you use a strong SSH password.
Also, if you want to avoid the server administration overhead, you can use managed cloud hosting service Cloudways with Digital ocean backend. Cloudways is owned by Digital ocean. So you get the best of both worlds. Managed hosting + power of Digital Ocean cloud. You can read more about Cloudway in my details Cloudways Review.
