

In this blog, we are going to learn about how to set up Argo Rollouts and how we can deploy applications using it on Kubernetes.
Argo Rollouts is an open-source Kubernetes tool that can be used with or without Argo CD, its role is to help you to perform various advanced deployment strategies like blue-green and canary deployment.
Kubernetes has its own native rolling update strategies but with many limitations such as you cannot fully control the speed of the rollout, cannot control the traffic flow to the new version, etc.
With Argo Rollouts you can do deployments without any limitations.
Argo Rollouts Workflow
The diagram given below shows the simple workflow of Argo Rollouts, which uses Ingress Controller, Argo CD for visualizing, and Prometheus for monitoring.
Let me explain the image
- This workflow uses Argo Rollouts with Argo CD.
- As shown in the diagram an application is already running, to start the rollout you change the image and update the changes using the manifest file.
- As soon as you update the changes Argo Rollouts deploy the new version along with the old version.
- Then the traffic will gradually shift from the old to the new version with a time gap as you specified on the manifest file.
- Argo Rollouts uses an Ingress Controller to route the traffic to old and new versions.
- And the metrics created during the rollout process are scraped and sent to Prometheus.
Install Argo Rollouts
Given below are the prerequisites for the setup
Prerequisites
- A working Kubernetes Cluster
- Kubectl is configured with the cluster.
Follow the below steps to install Argo Rollouts on Kubernetes.
Step 1: Create Namespace
Create a separate namespace for Argo Rollouts using the following command
kubectl create namespace argo-rolloutsStep 2: Install Argo Rollouts
Now, run the following command to install Argo Rollouts on the argo-rollouts namespace you created in the previous step.
kubectl apply -n argo-rollouts -f https://raw.githubusercontent.com/argoproj/argo-rollouts/stable/manifests/install.yamlThis command will install the latest stable version of Argo Rollouts on the argo-rollouts namespace.
Step 3: Install the Argo Rollouts Kubectl Plugin
The use of the Argo Rollouts kubectl plugin is to manage and visualize rollouts from the CLI.
First, download the latest Argo Rollouts using the command
curl -LO https://github.com/argoproj/argo-rollouts/releases/latest/download/kubectl-argo-rollouts-darwin-amd64Make the binary of the Argo Rollouts Kubectl plugin executable with the command
chmod +x ./kubectl-argo-rollouts-darwin-amd64Move the binary to /usr/local/bin/ directory using the following command
sudo mv ./kubectl-argo-rollouts-darwin-amd64 /usr/local/bin/kubectl-argo-rolloutsCheck the version and see if it installed properly using the command
kubectl argo rollouts versionYou will get the following output
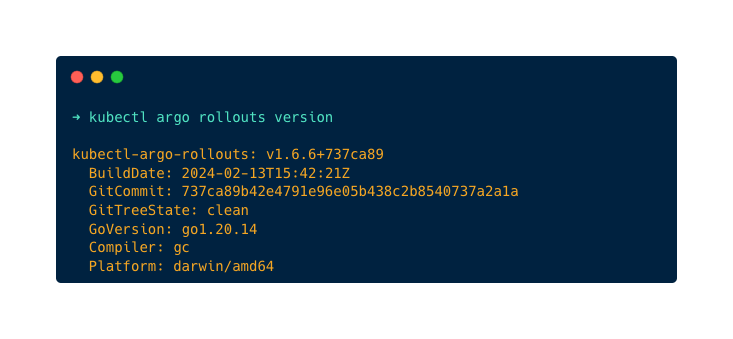
Now, that you have installed Argo Rollouts and Kubectl Plugin, let's see how to deploy an application using Argo Rollouts.
Deploy Applications Using Argo Rollouts
As an example, I am going to deploy Nginx using Argo Rollouts and check how the rollout works by changing the version of the Nginx deployment.
Step 1: Deploy the Application
First, create a YAML file nginx-rollouts.yaml and copy the below contents. Here we use the Rollout custom resource.
apiVersion: argoproj.io/v1alpha1
kind: Rollout
metadata:
  name: nginx-rollout
  namespace: default
spec:
  replicas: 3
  selector:
    matchLabels:
      app: nginx
  template:
    metadata:
      labels:
        app: nginx
    spec:
      containers:
      - name: nginx-container
        image: nginx:1.24-alpine
        ports:
        - containerPort: 80
  strategy:
    canary:
      steps:
      - setWeight: 20
      - pause: {duration: 10}
      - setWeight: 50
      - pause: {duration: 10}
      - setWeight: 70
      - pause: {duration: 10}
      - setWeight: 100
As you can see in the above file, t deploys the nginx version 1.24-alpine which is an older version of nginx with 3 replicas, and exposes the container to port 80.
  strategy:
    canary:
      steps:
      - setWeight: 20
      - pause: {duration: 10}
      - setWeight: 50
      - pause: {duration: 10}
      - setWeight: 70
      - pause: {duration: 10}
      - setWeight: 100
This part of the file specifies the strategy it's going to use for rollout and the steps in which manner the traffic is distributed with the older and the new version.
The deployment strategy I am going to use in Canary deployment, and the steps say how traffic should be distributed from the older version to the newer version during rollout.
Here is what it says, during the rollout, initially send 20% of traffic to the newer version and 80% of traffic to the older version.
Then it passes the rollout for ten seconds to observe the performance of the newer version, after 10 seconds 50% of the traffic will be sent to the newer version and the rollout happens until 100% of the traffic is sent to the newer version.
Now, run the following command to deploy the application
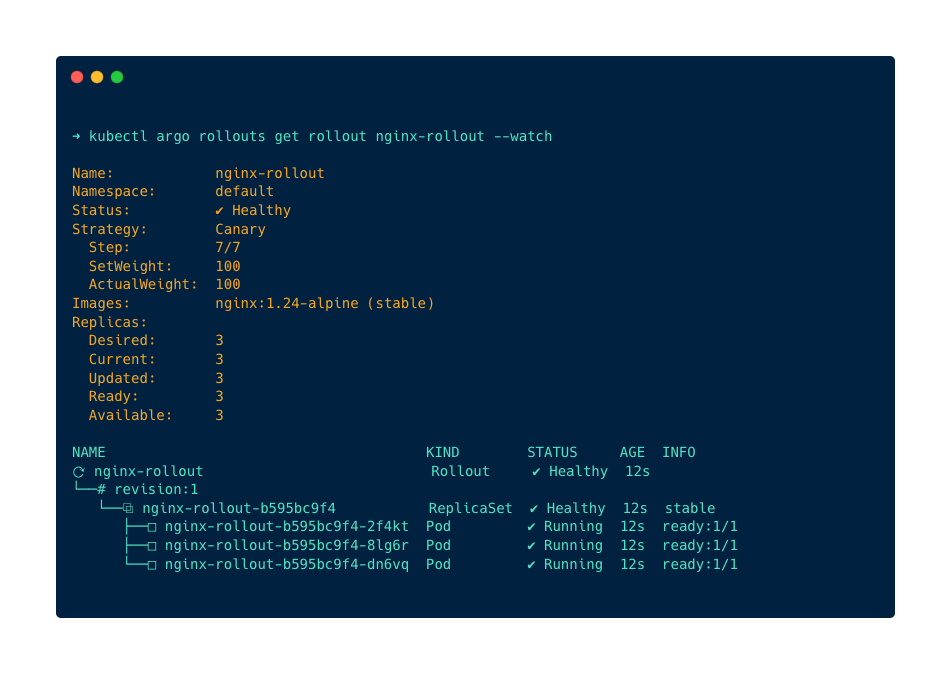
kubectl apply -f nginx-rollouts.yamlCheck the deployment, if it's running and healthy. This is where the Argo Rollouts kubectl plugin plays its role in visualizing the deployment.
Run the following command to visualize the deployment using the plugin
kubectl argo rollouts get rollout nginx-rollout --watchYou will get the following output
Step 2: Rollout a New version
To rollout a new version make changes on the deployment nginx-rollouts.yaml file and run the apply command again to rollout the new version.
I am going to change the version of the nginx image to the latest image and apply the changes as given below
    spec:
      containers:
      - name: nginx-container
        image: nginx:latest
        ports:
        - containerPort: 80
Now, run the following apply command to start the rollout
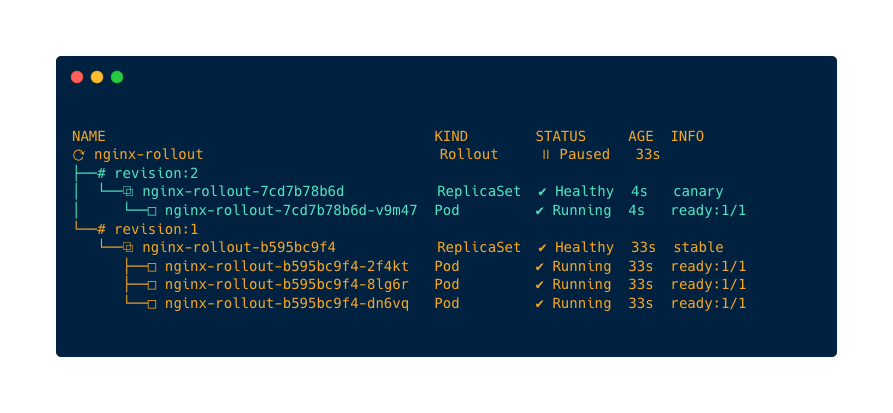
kubectl apply -f nginx-rollouts.yamlYou can see the visual rollout process using the command
kubectl argo rollouts get rollout nginx-rollout --watchYou can see the traffic shift from the older version to the newer version with a 10 sec gap as we set in the deployment file, you can set the time duration as long as you want for better observation.
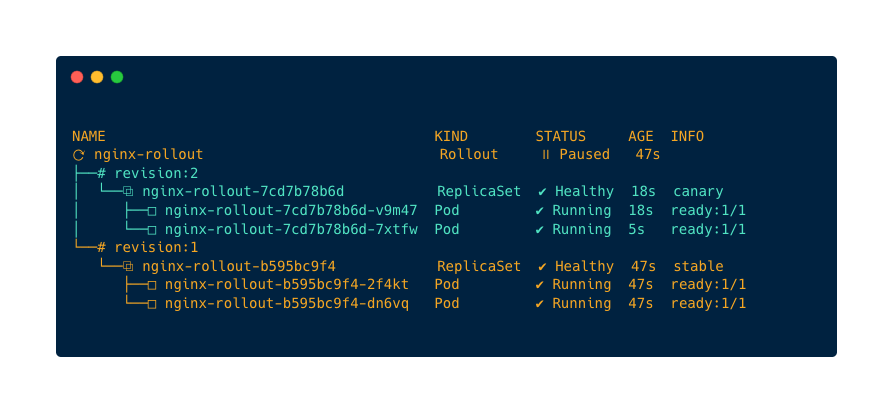
You can see how the rollout is done in the below images.
20% traffic to the newer version and 80% traffic to the older version.
50% traffic to the newer version and 50% traffic to the older version.
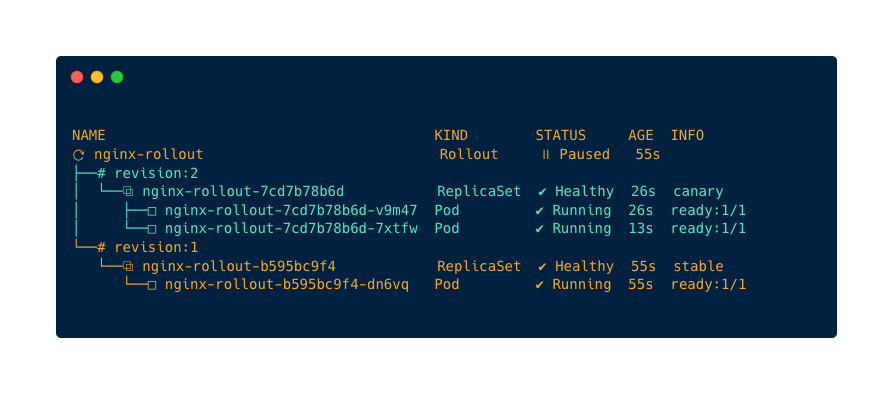
70% traffic is to the newer version and 30% traffic is to the older version.
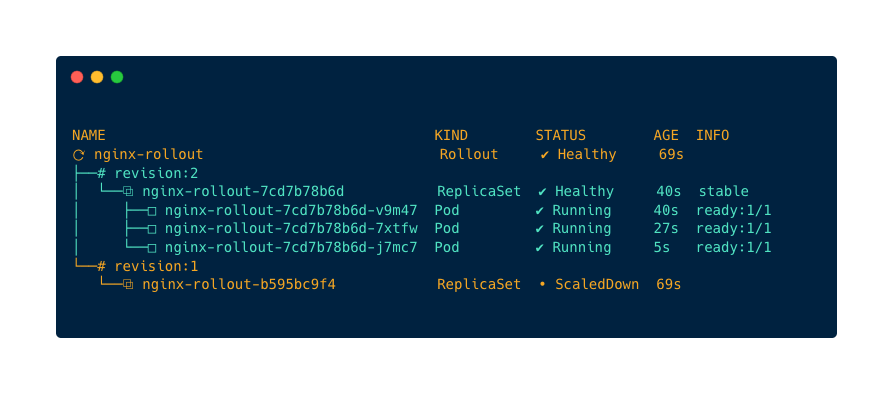
If everything is stable on the newer version 100% of traffic will be sent to the newer version
Also, if the newer version is healthy and running properly and you don't want to wait until the rollout process, run the following promote command to direct all the traffic to the newer version immediately.
kubectl argo rollouts promote nginx-rolloutAnd if the newer version is not healthy and is not running properly, you can use the abort command to stop the rollout, which will terminate the newer version rollout and direct all the traffic to the older stable version.
kubectl argo rollouts abort nginx-rolloutYou can also get the Argo Rollout dashboard of the rollout process in the UI using the command given below
kubectl argo rollouts dashboardNow, view the dashboard on the browser using localhost:3100, you will get the following page
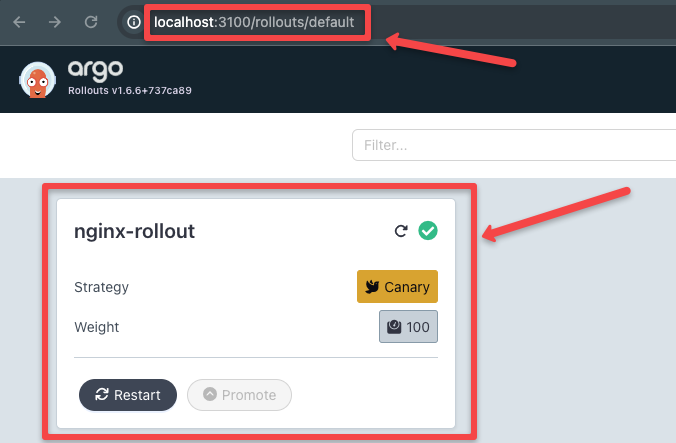
Open it and view the rollout process in detail as shown below
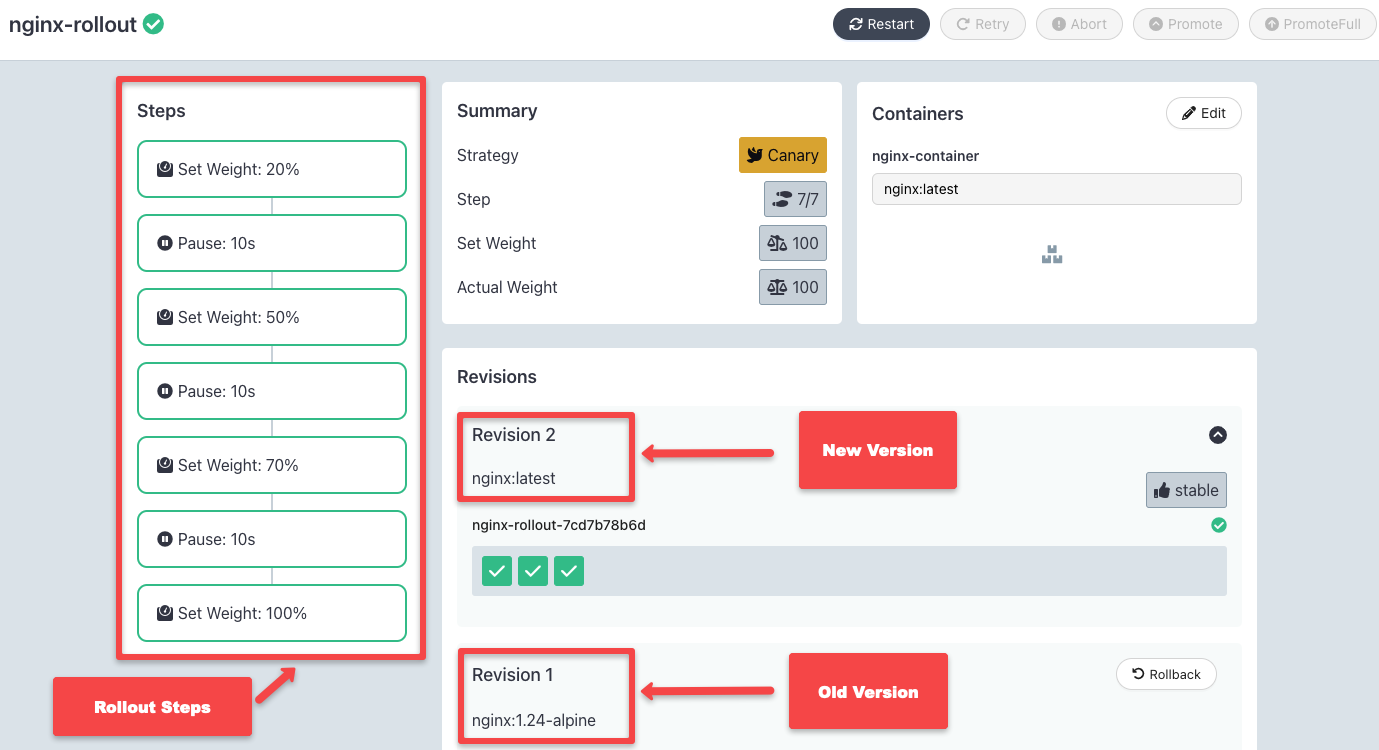
You can modify the manifest file for better deployments like, automatically rolling back to the previous version if the new version is not stable or unhealthy, or add health checks to deployment to increase the traffic if the new deployment is healthy.
Conclusion
I believe you understand the steps in this blog to install Argo Rollouts, the Kubectl plugin, and rollout new versions or updates of an application using the Canary strategy.
Also, here is the study guide for Certified Argo Project Associate (CAPA).
