

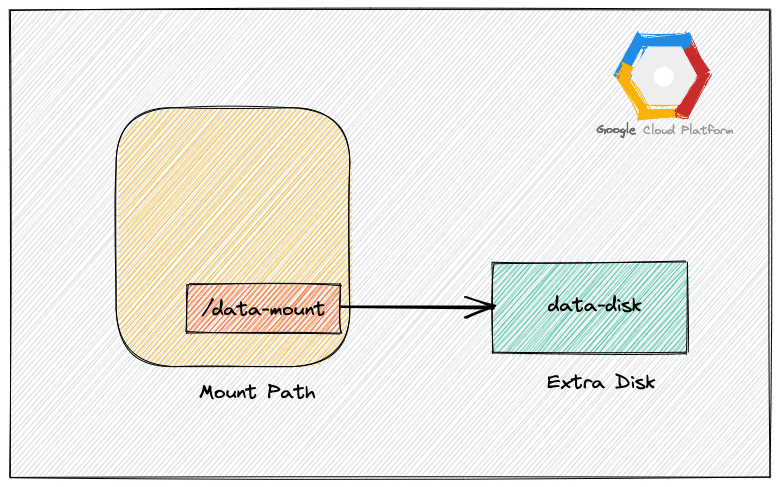
By default, the new disks attached during the instance creation cannot be used directly. You need to format and mount it to your instance to put that in use.
In this article, I will explain how to format and mount an extra disk to your google compute engine VM instance.
Create and Attach a Disk to VM
If you don't have an existing disk attached to the VM, you can create and attach one using gcloud CLI or the google cloud console.
In this example, I will use the gcloud CLI to create and attach the disk. If you don't have gcloud installed, refer to this gcloud CLI setup guide for beginners.
Create a disk named data-disk in the us-central1-a zone. Ensure you create the disk in the same zone as your instance.
gcloud compute disks create data-disk \
      --zone=us-central1-a \
      --size=50GB \
      --type=pd-standard
Attach the disk to the VM named demo-mount
gcloud compute instances attach-disk demo-mount \
  --disk data-disk \
  --zone=us-central1-a
Formatting and Mounting Extra Disk on VM Instance
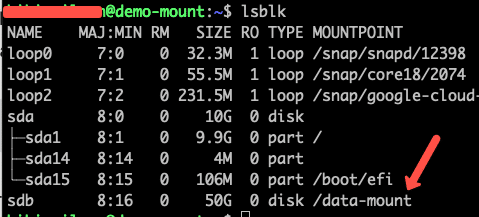
Step 1: Log in to the instance and list the available extra disk using the following command.
sudo lsblkAn example output is shown below. All the extra disks will not have any entry under the MOUNTPOINT tab. Here, sdb is the extra disk that has to be formatted and mounted.
[devopscube@demo-mount ~]$ lsblk
NAME   MAJ:MIN RM SIZE RO TYPE MOUNTPOINT
sda      8:0    0  10G  0 disk
└─sda1   8:1    0  10G  0 part /
sdb      8:16   0  20G  0 disk
Step 2: Next, we should format the disk to ext4 using the following command. In the command below we are mentioning /dev/sdb as that is the extra disk available.
sudo mkfs.ext4 -m 0 -F -E lazy_itable_init=0,lazy_journal_init=0,discard /dev/sdbStep 3: Next, create a mount directory on the instance as shown below. You can replace the /data-mount with a custom name and path, you prefer.
sudo mkdir -p /data-mountStep 4: Now, mount the disk to the directory we created using the following command.
sudo mount -o discard,defaults /dev/sdb /data-mountIf you list the block devices, you will see the mounted disk as shown below.
Step 5: If you want write permissions to this disk for all the users, you can execute the following command. Or, based on the privileges you need for the disk, you can apply the user permissions.
sudo chmod a+w /data-mountStep 6: Check the mounted disk using the following command.
df -hA sample output,
[devopscube@demo-mount]$ df -h
Filesystem      Size  Used Avail Use% Mounted on
/dev/sda1        10G  2.3G  7.8G  23% /
devtmpfs        842M     0  842M   0% /dev
tmpfs           849M     0  849M   0% /dev/shm
tmpfs           849M  8.4M  840M   1% /run
tmpfs           849M     0  849M   0% /sys/fs/cgroup
tmpfs           170M     0  170M   0% /run/user/1001
tmpfs           170M     0  170M   0% /run/user/0
/dev/sdb         20G   45M   20G   1% /demo-data
Automount GCP Disk On Reboot
To automount the disk on system start or reboots, you need to add the mount entry to the fstab. Follow the steps given below for adding the mount to fstab.
Step 1: First, back up the fstab file.
sudo cp /etc/fstab /etc/fstab.backupStep 2: Execute the following command to make a fstab entry with the UUID of the disk.
noatimeStep 3: Check the UUID of the extra disk
sudo blkid -s UUID -o value /dev/sdbStep 4: Open fstab file and check for the new entry for the UUID of the extra disk
sudo cat /etc/fstabNow, on every reboot, the extra disk will automatically mount to the defined folder based on the fstab entry.
