

In our previous post, we explained the latest Jenkins features and installation for Debian-based servers. As per a few user requests, we have created the steps for installing Jenkins 2 versions on centos and Redhat servers.
Jenkins 2 on centos/Redhat
This tutorial will guide you to install Jenkins 2 on a centos/Redhat machines.
Prerequisites:
- Make sure port 22 and 8080 are open in your server firewall.
- You should have
sudoaccess to execute the commands.
Step 1: Install prerequisites.
sudo yum install wget git -yStep 2: Install java 11 JDK
sudo yum install java-11-openjdk-devel -yStep 3: Add the LTS Jenkins repository.
sudo wget -O /etc/yum.repos.d/jenkins.repo http://pkg.jenkins-ci.org/redhat/jenkins.repoStep 4: Import the repo key.
sudo rpm --import https://jenkins-ci.org/redhat/jenkins-ci.org.keyStep 5: There are many Jenkins 2 versions. To install the specific version, you need to get the version list from yum. Use the following command to get the list of available Jenkins versions.
sudo yum --showduplicates list jenkins | expandYou will see a list like the following.
jenkins.noarch 2.6-1.1 jenkins jenkins.noarch 2.7-1.1 jenkins jenkins.noarch 2.8-1.1 jenkins jenkins.noarch 2.9-1.1 jenkins
Step 6: Select a specific version of your choice and install it using the following syntax.
sudo yum install (package name)-(version info)For example, if you want to install 2.9-1.1, you can execute the command as shown below.
sudo yum install jenkins-2.222.1-1.1Or simply execute the following command, it will install the latest LTS version.
sudo yum install jenkins -yStep 7: Start the Jenkins 2 service.
sudo systemctl start jenkinsStep 8: Enable Jenkins as a startup service.
sudo systemctl enable jenkinsStep 9: Access the Jenkins dashboard on port 8080 using your servers IP address.
http://<jenkins-ip>:8080Step 10: Open the following file in the terminal and copy the password. supply the password on the dashboard.
sudo cat /var/lib/jenkins/secrets/initialAdminPassword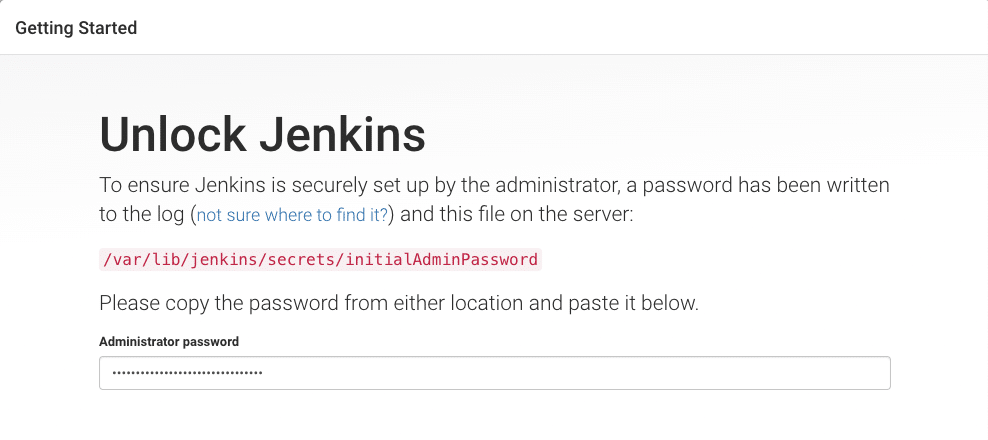
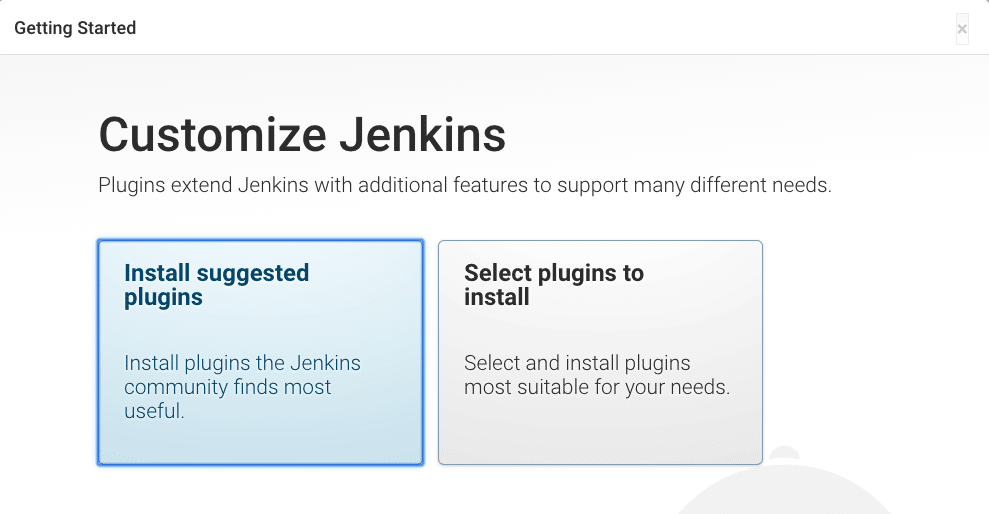
Step 11: Install suggested plugins
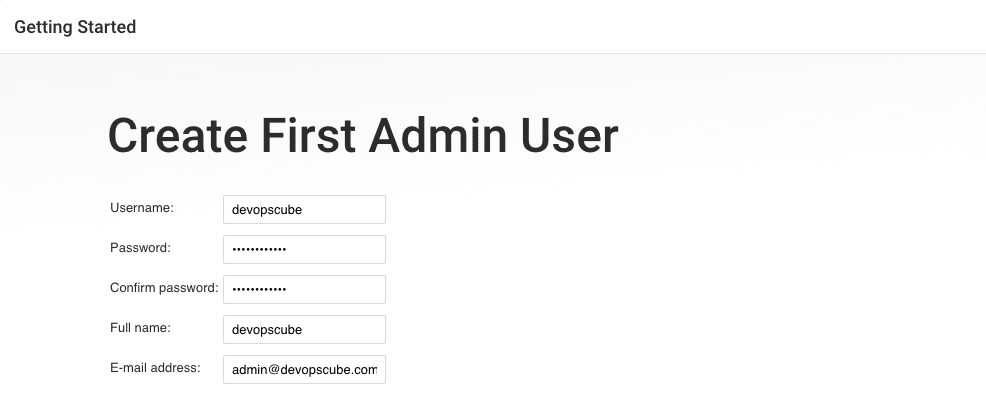
Step 12: Create a admin Jenkins user.
Step 13: All the other steps are self-explanatory. You can follow the dashboard steps start using Jenkins
To add slaves, you can follow the Jenkins SSH slave setup article.
