

If you are bored with the old Jenkins UI, its font, and icons, you can give your Jenkins a makeover using custom CSS styling with a custom logo.
Custom CSS Main Features:
- Flat UI Fonts
- Better Syntax highlighting for Shell blocks
- Better highlighted
console output
Modifying Jenkins UI
Follow this tutorial for changing the look and feel of default Jenkins UI.
Step 1: Go to Manage Jenkins --> Manage Plugins. Click available tab and search for simple theme plugin.
Step 2: Install the theme and restart Jenkins.
Step 3: Go to Manage Jenkins --> Configure and search for Theme configuration and in the CSS field enter the following URL and save it.
https://cdn.rawgit.com/afonsof/jenkins-material-theme/gh-pages/dist/material-cyan.css
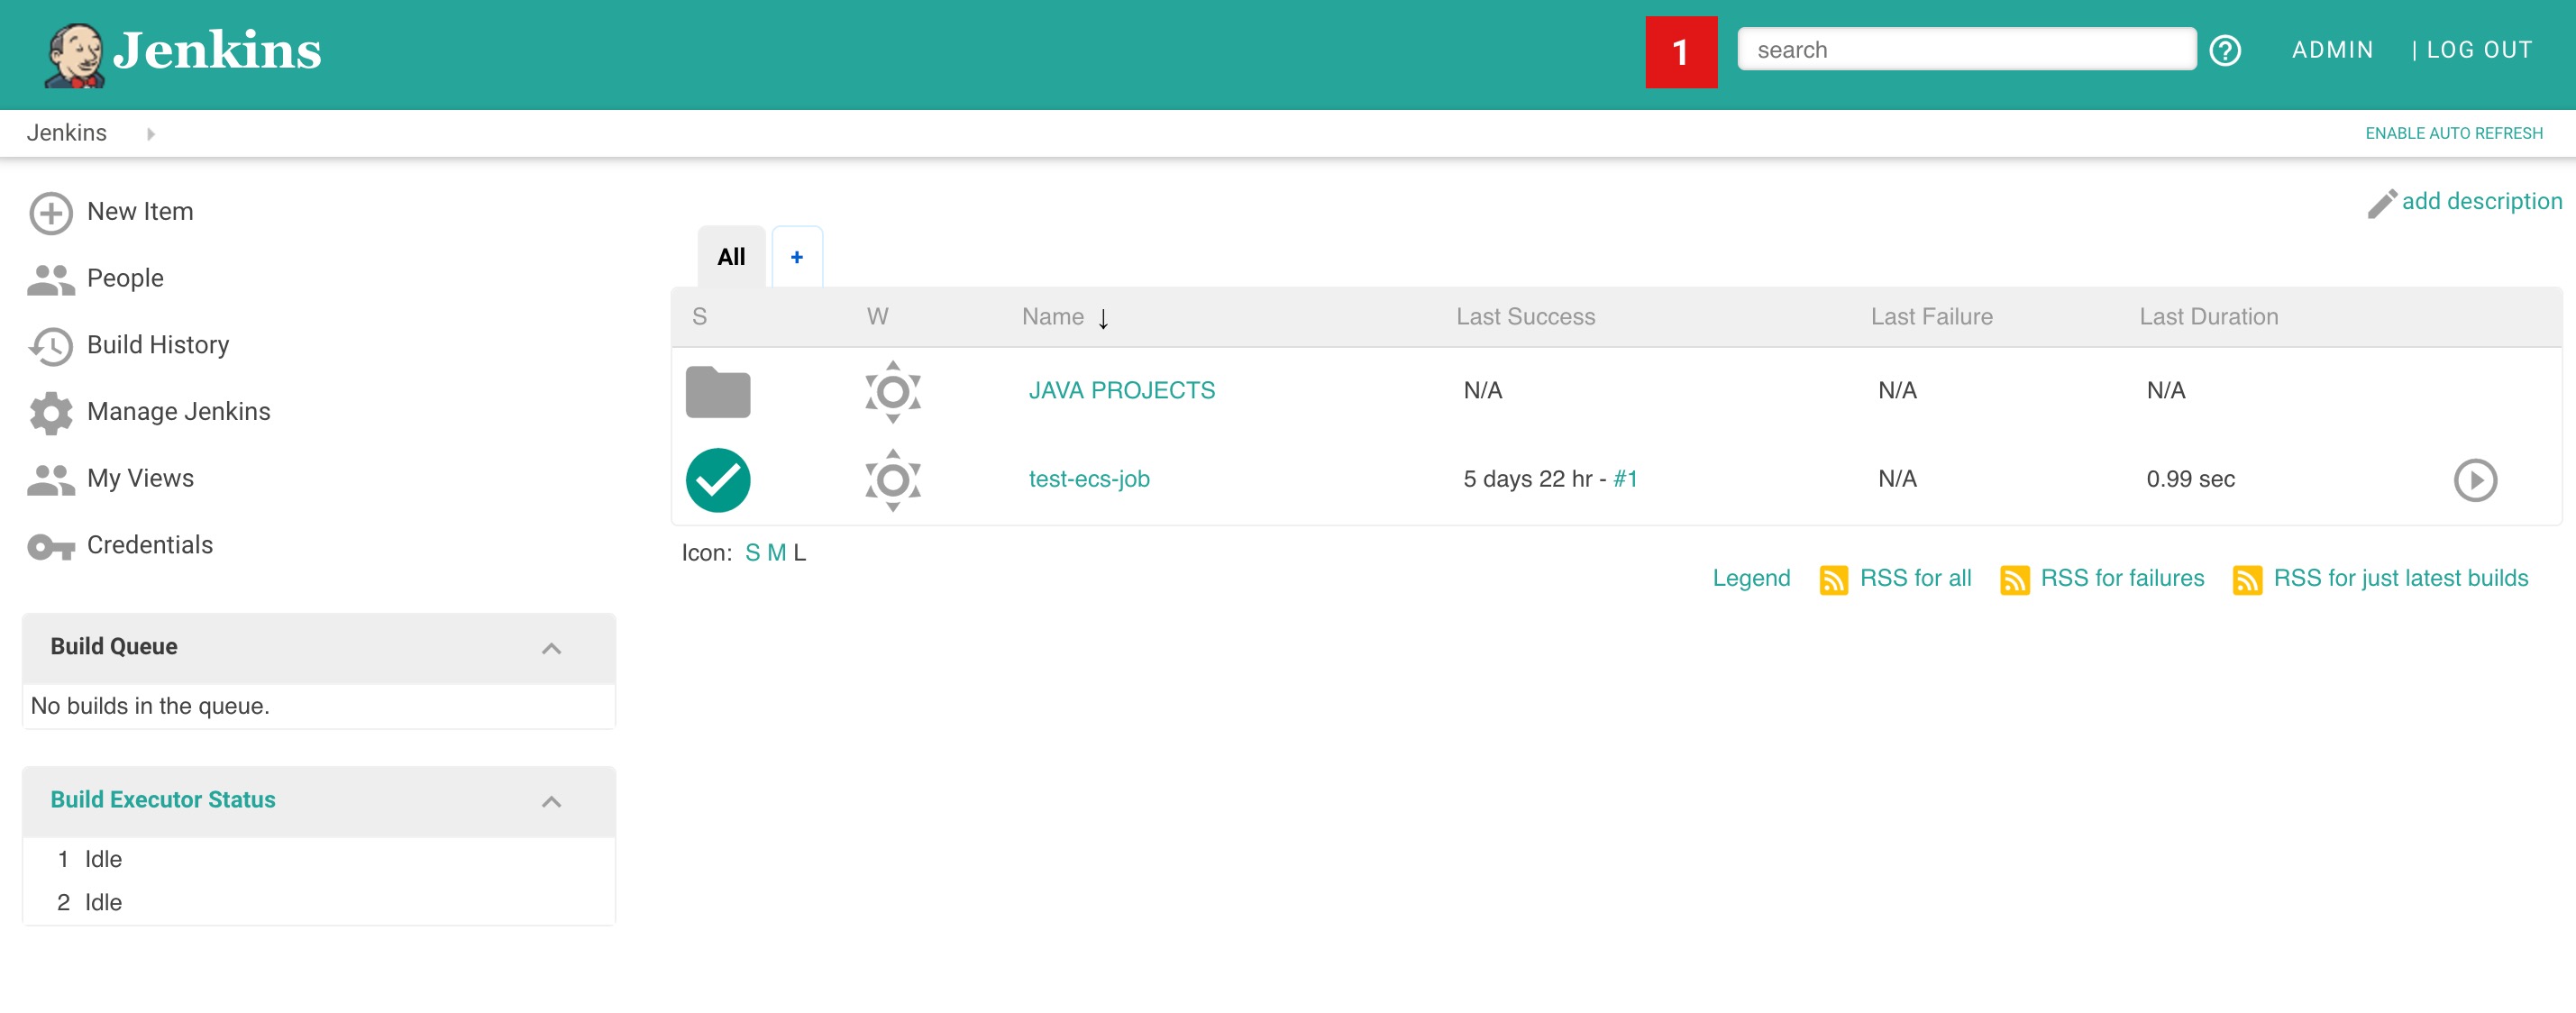
Once it is saved, the UI will be changed to a materialized flat UI based on cyan color.
Uploading Custom CSS TO Jenkins Server
In the above example, we are referring to a CSS file hosted in third party website. You can also host this CSS on your Jenkins server. Follow the steps given below.
Step 1: Login to your jenkins server, and cd into your Jenkins home directory.
Step 2: Create a folder named layout inside the userContent directory.
cd userContent
mkdir layout
Step 3: cd into the layout directory and create a style.css file.
cd layout
vi style.css
Step 4: Now, visit the following URL in the browser and copy the whole CSS content and paste it in the style.css file and save it.
https://cdn.rawgit.com/afonsof/jenkins-material-theme/gh-pages/dist/material-cyan.cssThe following are the colors supported. You can replace the color name at the end in the above URL to have the desired color

Step 4: Now, under Manage Jenkins --> Configure, under the theme section, replace the full URL with the following.
/userContent/layout/style.cssMore Customization
You can customize the looks more by changing the logo. If you want more customizations and colors, you can follow the office Jenkins materialize CSS site from here.
You can check out the video tutorial for this article.
